D7W TS.pdf - Espar
D7W TS.pdf - Espar
D7W TS.pdf - Espar

You also want an ePaper? Increase the reach of your titles
YUMPU automatically turns print PDFs into web optimized ePapers that Google loves.
33<br />
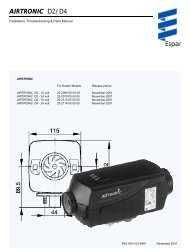
5. 12 pin Plug Removal<br />
- Remove the cover<br />
- Unclip the plug from the<br />
holder using a screwdriver<br />
- Dismantle the plug<br />
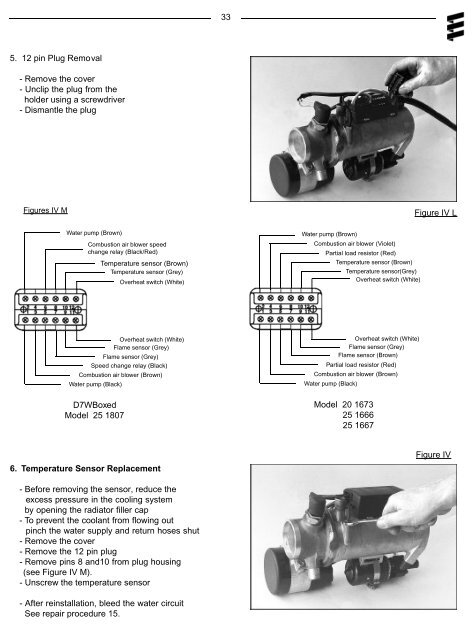
Figures IV M<br />
Figure IV L<br />
Water pump (Brown)<br />
Combustion air blower speed<br />
change relay (Black/Red)<br />
Temperature sensor (Brown)<br />
Temperature sensor (Grey)<br />
Overheat switch (White)<br />
Water pump (Brown)<br />
Combustion air blower (Violet)<br />
Partial load resistor (Red)<br />
Temperature sensor (Brown)<br />
Temperature sensor(Grey)<br />
Overheat switch (White)<br />
Overheat switch (White)<br />
Flame sensor (Grey)<br />
Flame sensor (Grey)<br />
Speed change relay (Black)<br />
Combustion air blower (Brown)<br />
Water pump (Black)<br />
Overheat switch (White)<br />
Flame sensor (Grey)<br />
Flame sensor (Brown)<br />
Partial load resistor (Red)<br />
Combustion air blower (Brown)<br />
Water pump (Black)<br />
<strong>D7W</strong>Boxed<br />
Model 25 1807<br />
Model 20 1673<br />
25 1666<br />
25 1667<br />
6. Temperature Sensor Replacement<br />
Figure IV<br />
- Before removing the sensor, reduce the<br />
excess pressure in the cooling system<br />
by opening the radiator filler cap<br />
- To prevent the coolant from flowing out<br />
pinch the water supply and return hoses shut<br />
- Remove the cover<br />
- Remove the 12 pin plug<br />
- Remove pins 8 and10 from plug housing<br />
(see Figure IV M).<br />
- Unscrew the temperature sensor<br />
- After reinstallation, bleed the water circuit<br />
See repair procedure 15.