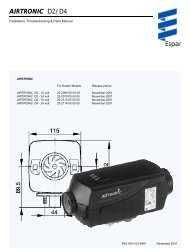
D7W TS.pdf - Espar
D7W TS.pdf - Espar
D7W TS.pdf - Espar

Create successful ePaper yourself
Turn your PDF publications into a flip-book with our unique Google optimized e-Paper software.
37<br />
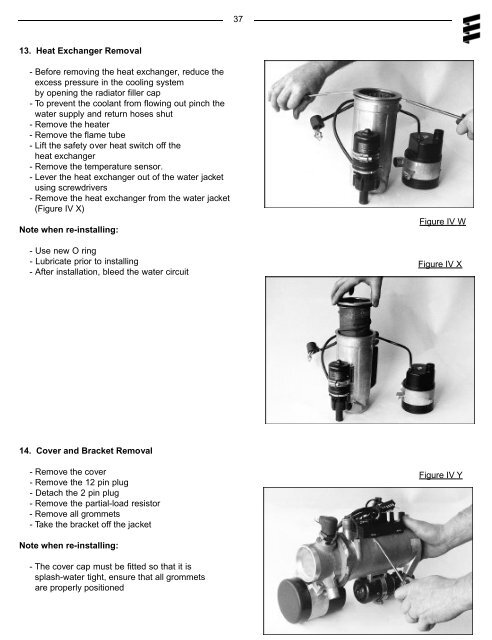
13. Heat Exchanger Removal<br />
- Before removing the heat exchanger, reduce the<br />
excess pressure in the cooling system<br />
by opening the radiator filler cap<br />
- To prevent the coolant from flowing out pinch the<br />
water supply and return hoses shut<br />
- Remove the heater<br />
- Remove the flame tube<br />
- Lift the safety over heat switch off the<br />
heat exchanger<br />
- Remove the temperature sensor.<br />
- Lever the heat exchanger out of the water jacket<br />
using screwdrivers<br />
- Remove the heat exchanger from the water jacket<br />
(Figure IV X)<br />
Note when re-installing:<br />
- Use new O ring<br />
- Lubricate prior to installing<br />
- After installation, bleed the water circuit<br />
Figure IV W<br />
Figure IV X<br />
14. Cover and Bracket Removal<br />
- Remove the cover<br />
- Remove the 12 pin plug<br />
- Detach the 2 pin plug<br />
- Remove the partial-load resistor<br />
- Remove all grommets<br />
- Take the bracket off the jacket<br />
Figure IV Y<br />
Note when re-installing:<br />
- The cover cap must be fitted so that it is<br />
splash-water tight, ensure that all grommets<br />
are properly positioned