D7W TS.pdf - Espar
D7W TS.pdf - Espar
D7W TS.pdf - Espar

You also want an ePaper? Increase the reach of your titles
YUMPU automatically turns print PDFs into web optimized ePapers that Google loves.
34<br />
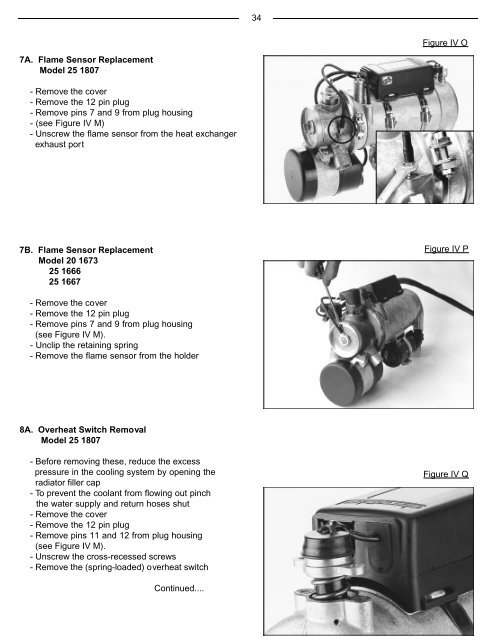
Figure IV O<br />
7A. Flame Sensor Replacement<br />
Model 25 1807<br />
- Remove the cover<br />
- Remove the 12 pin plug<br />
- Remove pins 7 and 9 from plug housing<br />
- (see Figure IV M)<br />
- Unscrew the flame sensor from the heat exchanger<br />
exhaust port<br />
7B. Flame Sensor Replacement<br />
Model 20 1673<br />
25 1666<br />
25 1667<br />
Figure IV P<br />
- Remove the cover<br />
- Remove the 12 pin plug<br />
- Remove pins 7 and 9 from plug housing<br />
(see Figure IV M).<br />
- Unclip the retaining spring<br />
- Remove the flame sensor from the holder<br />
8A. Overheat Switch Removal<br />
Model 25 1807<br />
- Before removing these, reduce the excess<br />
pressure in the cooling system by opening the<br />
radiator filler cap<br />
- To prevent the coolant from flowing out pinch<br />
the water supply and return hoses shut<br />
- Remove the cover<br />
- Remove the 12 pin plug<br />
- Remove pins 11 and 12 from plug housing<br />
(see Figure IV M).<br />
- Unscrew the cross-recessed screws<br />
- Remove the (spring-loaded) overheat switch<br />
Figure IV Q<br />
Continued....