
Create successful ePaper yourself
Turn your PDF publications into a flip-book with our unique Google optimized e-Paper software.
o<br />
p<br />
q<br />
r<br />
Press OK, and Network Connection Test will<br />
start.<br />
A message will appear to indicate if the<br />
connection was successful or it could not be<br />
completed.<br />
Network connection was completed successfully.<br />
OK<br />
NOTE: The result of Network Connection Test<br />
does not always guarantee the connection.<br />
To cancel the Network Connection Test:<br />
Press BACK while searching for the Internet<br />
connection.<br />
Press OK, and The Auto Tuning will appear.<br />
Auto Tuning<br />
Tuning Mode<br />
Bandwidth<br />
Start Scan<br />
DTV and ATV<br />
7MHz<br />
Press C or c to select DTV and ATV, DTV<br />
or ATV, if available, and press b to select<br />
Bandwidth.<br />
Press C or c to select 7MHz, 8MHz or 7MHz<br />
and 8MHz, then highlight Start Scan and<br />
press OK to continue with the Auto Tuning.<br />
The television will start to search for all<br />
available DTV and/or ATV services.<br />
You must allow the television to complete<br />
the search.<br />
When the search is complete, the Auto<br />
Tuning screen will display the services<br />
found.<br />
Press B or b to move through the list to<br />
select a channel and press OK to view.<br />
PLEASE NOTE<br />
The Quick Setup menu can also be<br />
accessed at any time from the Setup /<br />
System Setup menu.<br />
Auto Tuning<br />
SETTING UP YOUR TV<br />
NOTE: As new services are broadcast, it will be necessary<br />
to re-tune the television in order to view them.<br />
Auto Tuning will completely re-tune the television<br />
and can be used to update the channel list. It is<br />
recommended that Auto Tuning is run periodically<br />
to ensure that all new services are added. All current<br />
channels and settings, i.e. locked channels, will be<br />
lost.<br />
a<br />
b<br />
c<br />
d<br />
e<br />
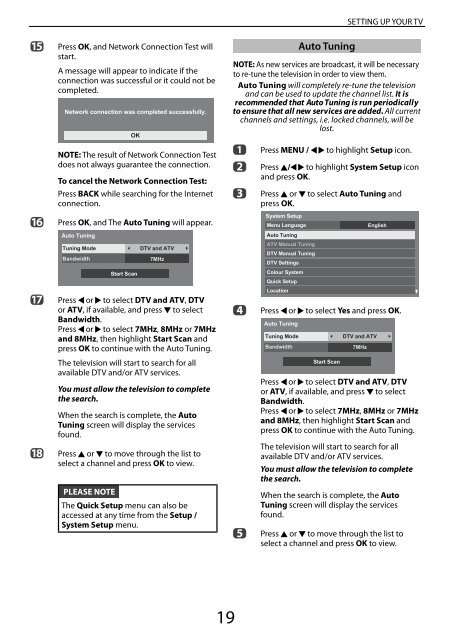
Press MENU / C c to highlight Setup icon.<br />
Press B/C c to highlight System Setup icon<br />
and press OK.<br />
Press B or b to select Auto Tuning and<br />
press OK.<br />
System Setup<br />
Menu Language<br />
Auto Tuning<br />
ATV <strong>Manual</strong> Tuning<br />
DTV <strong>Manual</strong> Tuning<br />
DTV Settings<br />
Colour System<br />
Quick Setup<br />
Location<br />
English<br />
Press C or c to select Yes and press OK.<br />
Auto Tuning<br />
Tuning Mode<br />
Bandwidth<br />
Start Scan<br />
DTV and ATV<br />
7MHz<br />
Press C or c to select DTV and ATV, DTV<br />
or ATV, if available, and press b to select<br />
Bandwidth.<br />
Press C or c to select 7MHz, 8MHz or 7MHz<br />
and 8MHz, then highlight Start Scan and<br />
press OK to continue with the Auto Tuning.<br />
The television will start to search for all<br />
available DTV and/or ATV services.<br />
You must allow the television to complete<br />
the search.<br />
When the search is complete, the Auto<br />
Tuning screen will display the services<br />
found.<br />
Press B or b to move through the list to<br />
select a channel and press OK to view.<br />
19