Operator's Guide - Kodak
Operator's Guide - Kodak
Operator's Guide - Kodak
Create successful ePaper yourself
Turn your PDF publications into a flip-book with our unique Google optimized e-Paper software.
Chapter 2. Basic Operations<br />
Preliminary Operations<br />
4. Turn the HEIGHT SET LEVER counter-clockwise (Figure 2.30).<br />
5. Turn the SKEW ADJUST KNOB until the cross-web lines printed in the<br />
test pattern are perpendicular to the edge of the paper.<br />
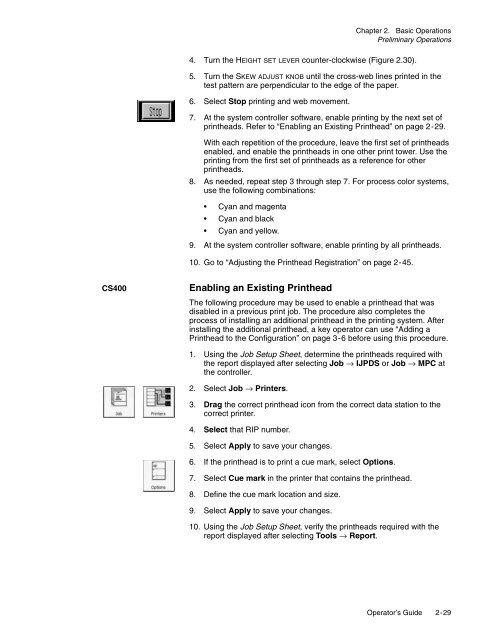
6. Select Stop printing and web movement.<br />
7. At the system controller software, enable printing by the next set of<br />
printheads. Refer to “Enabling an Existing Printhead” on page 2-29.<br />
With each repetition of the procedure, leave the first set of printheads<br />
enabled, and enable the printheads in one other print tower. Use the<br />
printing from the first set of printheads as a reference for other<br />
printheads.<br />
8. As needed, repeat step 3 through step 7. For process color systems,<br />
use the following combinations:<br />
• Cyan and magenta<br />
• Cyan and black<br />
• Cyan and yellow.<br />
9. At the system controller software, enable printing by all printheads.<br />
10. Go to “Adjusting the Printhead Registration” on page 2-45.<br />
CS400<br />
Enabling an Existing Printhead<br />
The following procedure may be used to enable a printhead that was<br />
disabled in a previous print job. The procedure also completes the<br />
process of installing an additional printhead in the printing system. After<br />
installing the additional printhead, a key operator can use “Adding a<br />
Printhead to the Configuration” on page 3-6 before using this procedure.<br />
1. Using the Job Setup Sheet, determine the printheads required with<br />
the report displayed after selecting Job → IJPDS or Job → MPC at<br />
the controller.<br />
2. Select Job → Printers.<br />
3. Drag the correct printhead icon from the correct data station to the<br />
correct printer.<br />
4. Select that RIP number.<br />
5. Select Apply to save your changes.<br />
6. If the printhead is to print a cue mark, select Options.<br />
7. Select Cue mark in the printer that contains the printhead.<br />
8. Define the cue mark location and size.<br />
9. Select Apply to save your changes.<br />
10. Using the Job Setup Sheet, verify the printheads required with the<br />
report displayed after selecting Tools → Report.<br />
Operator’s <strong>Guide</strong> 2-29


