
You also want an ePaper? Increase the reach of your titles
YUMPU automatically turns print PDFs into web optimized ePapers that Google loves.
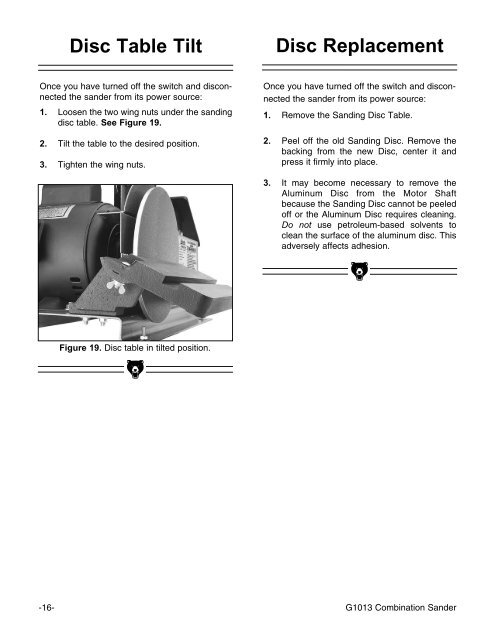
Disc Table Tilt<br />
Disc Replacement<br />
Once you have turned off the switch and disconnected<br />
the sander from its power source:<br />
1. Loosen the two wing nuts under the sanding<br />
disc table. See Figure 19.<br />
2. Tilt the table to the desired position.<br />
3. Tighten the wing nuts.<br />
Once you have turned off the switch and disconnected<br />
the sander from its power source:<br />
1. Remove the Sanding Disc Table.<br />
2. Peel off the old Sanding Disc. Remove the<br />
backing from the new Disc, center it and<br />
press it firmly into place.<br />
3. It may become necessary to remove the<br />
Aluminum Disc from the Motor Shaft<br />
because the Sanding Disc cannot be peeled<br />
off or the Aluminum Disc requires cleaning.<br />
Do not use petroleum-based solvents to<br />
clean the surface of the aluminum disc. This<br />
adversely affects adhesion.<br />
Figure 19. Disc table in tilted position.<br />
-16- <strong>G1013</strong> Combination Sander