Model Deluxe 62I - Bulldog Security
Model Deluxe 62I - Bulldog Security
Model Deluxe 62I - Bulldog Security
Create successful ePaper yourself
Turn your PDF publications into a flip-book with our unique Google optimized e-Paper software.
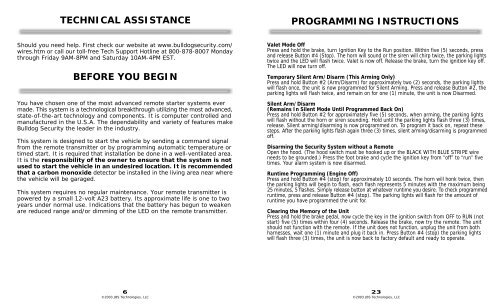
TECHNICAL ASSISTANCE<br />
PROGRAMMING INSTRUCTIONS<br />
Should you need help. First check our website at www.bulldogsecurity.com/<br />
wires.htm or call our toll-free Tech Support Hotline at 800-878-8007 Monday<br />
through Friday 9AM-8PM and Saturday 10AM-4PM EST.<br />
BEFORE YOU BEGIN<br />
You have chosen one of the most advanced remote starter systems ever<br />
made. This system is a technological breakthrough utilizing the most advanced,<br />
state-of-the-art technology and components. It is computer controlled and<br />
manufactured in the U.S.A. The dependability and variety of features make<br />
<strong>Bulldog</strong> <strong>Security</strong> the leader in the industry.<br />
This system is designed to start the vehicle by sending a command signal<br />
from the remote transmitter or by programming automatic temperature or<br />
timed start. It is required that installation be done in a well-ventilated area.<br />
It is the responsibility of the owner to ensure that the system is not<br />
used to start the vehicle in an undesired location. It is recommended<br />
that a carbon monoxide detector be installed in the living area near where<br />
the vehicle will be garaged.<br />
This system requires no regular maintenance. Your remote transmitter is<br />
powered by a small 12-volt A23 battery. Its approximate life is one to two<br />
years under normal use. Indications that the battery has begun to weaken<br />
are reduced range and/or dimming of the LED on the remote transmitter.<br />
Valet Mode Off<br />
Press and hold the brake, turn Ignition Key to the Run position. Within five (5) seconds, press<br />
and release Button #4 (Stop). The horn will sound or the siren will chirp twice, the parking lights<br />
twice and the LED will flash twice. Valet is now off. Release the brake, turn the ignition key off.<br />
The LED will now turn off.<br />
Temporary Silent Arm/Disarm (This Arming Only)<br />
Press and hold Button #2 (Arm/Disarm) for approximately two (2) seconds, the parking lights<br />
will flash once, the unit is now programmed for Silent Arming. Press and release Button #2, the<br />
parking lights will flash twice, and remain on for one (1) minute, the unit is now Disarmed.<br />
Silent Arm/Disarm<br />
(Remains In Silent Mode Until Programmed Back On)<br />
Press and hold Button #2 for approximately five (5) seconds, when arming, the parking lights<br />
will flash without the horn or siren sounding. Hold until the parking lights flash three (3) times,<br />
release. Silent arming/disarming is now programmed on. To program it back on, repeat these<br />
steps. After the parking lights flash again three (3) times, silent arming/disarming is programmed<br />
off.<br />
Disarming the <strong>Security</strong> System without a Remote<br />
Open the hood. (The hood switch must be hooked up or the BLACK WITH BLUE STRIPE wire<br />
needs to be grounded.) Press the foot brake and cycle the ignition key from “off” to “run” five<br />
times. Your alarm system is now disarmed.<br />
Runtime Programming (Engine Off)<br />
Press and hold Button #4 (stop) for approximately 10 seconds. The horn will honk twice, then<br />
the parking lights will begin to flash, each flash represents 5 minutes with the maximum being<br />
25 minutes, 5 flashes. Simply release button at whatever runtime you desire. To check programmed<br />
runtime, press and release Button #4 (stop). The parking lights will flash for the amount of<br />
runtime you have programmed the unit for.<br />
Clearing the Memory of the Unit<br />
Press and hold the brake pedal, now cycle the key in the ignition switch from OFF to RUN (not<br />
start) five (5) times within four (4) seconds. Release the brake, now try the remote. The unit<br />
should not function with the remote. If the unit does not function, unplug the unit from both<br />
harnesses, wait one (1) minute and plug it back in. Press Button #4 (stop) the parking lights<br />
will flash three (3) times, the unit is now back to factory default and ready to operate.<br />
6 23<br />
©2003 JBS Technologies, LLC ©2003 JBS Technologies, LLC


