

Instructions - Classic Auto Air
Instructions - Classic Auto Air
Instructions - Classic Auto Air

Create successful ePaper yourself
Turn your PDF publications into a flip-book with our unique Google optimized e-Paper software.
Drill a 1/8” dia. hole through brace and into the<br />
lower instrument panel.<br />
Attach brace to the panel using (1) #10 x 5/8” pan<br />
head screw.<br />
Reinstall the dash brace, and support screws.<br />
LOCATE ON UPPER<br />
MOUNTING STUD.<br />
Locate the Firewall Block Off<br />
plate, and (7) #10 x ¾” hex head<br />
tek screws.<br />
On engine side of the firewall<br />
attach over hookup tubes from<br />
the evaporator using (7) #10 x<br />
¾” hex washer head Tek screws.<br />
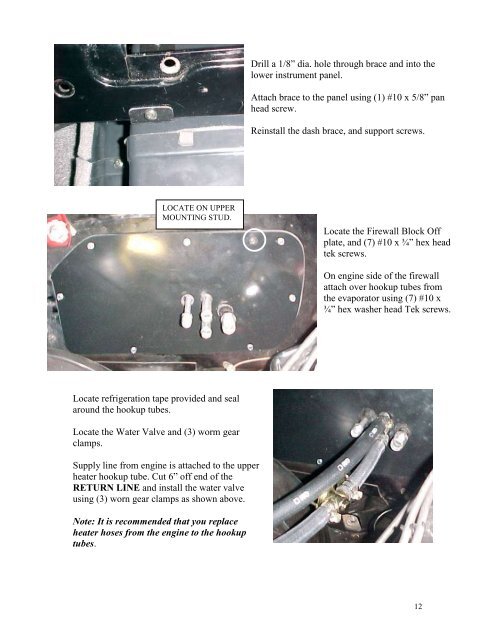
Locate refrigeration tape provided and seal<br />
around the hookup tubes.<br />
Locate the Water Valve and (3) worm gear<br />
clamps.<br />
Supply line from engine is attached to the upper<br />
heater hookup tube. Cut 6” off end of the<br />
RETURN LINE and install the water valve<br />
using (3) worn gear clamps as shown above.<br />
Note: It is recommended that you replace<br />
heater hoses from the engine to the hookup<br />
tubes.<br />
12


