H-CMMD4059.pdf (621.43 кб) - Hyundai Electronics
H-CMMD4059.pdf (621.43 кб) - Hyundai Electronics
H-CMMD4059.pdf (621.43 кб) - Hyundai Electronics
You also want an ePaper? Increase the reach of your titles
YUMPU automatically turns print PDFs into web optimized ePapers that Google loves.
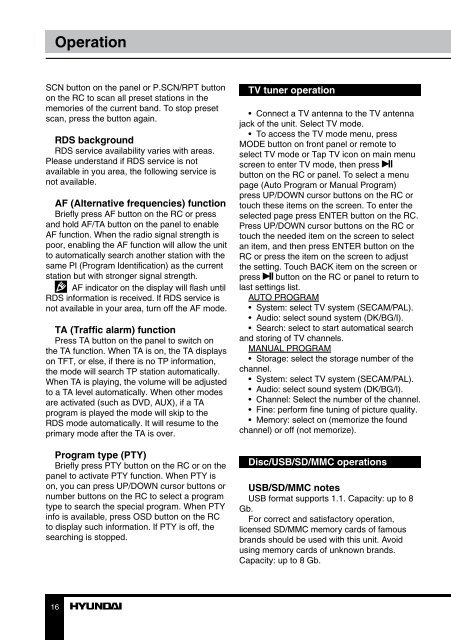
Operation<br />
SCN button on the panel or P.SCN/RPT button<br />
on the RC to scan all preset stations in the<br />
memories of the current band. To stop preset<br />
scan, press the button again.<br />
RDS background<br />
RDS service availability varies with areas.<br />
Please understand if RDS service is not<br />
available in you area, the following service is<br />
not available.<br />
AF (Alternative frequencies) function<br />
Briefly press AF button on the RC or press<br />
and hold AF/TA button on the panel to enable<br />
AF function. When the radio signal strength is<br />
poor, enabling the AF function will allow the unit<br />
to automatically search another station with the<br />
same PI (Program Identification) as the current<br />
station but with stronger signal strength.<br />
AF indicator on the display will flash until<br />
RDS information is received. If RDS service is<br />
not available in your area, turn off the AF mode.<br />
TA (Traffic alarm) function<br />
Press TA button on the panel to switch on<br />
the TA function. When TA is on, the TA displays<br />
on TFT, or else, if there is no TP information,<br />
the mode will search TP station automatically.<br />
When TA is playing, the volume will be adjusted<br />
to a TA level automatically. When other modes<br />
are activated (such as DVD, AUX), if a TA<br />
program is played the mode will skip to the<br />
RDS mode automatically. It will resume to the<br />
primary mode after the TA is over.<br />
Program type (PTY)<br />
Briefly press PTY button on the RC or on the<br />
panel to activate PTY function. When PTY is<br />
on, you can press UP/DOWN cursor buttons or<br />
number buttons on the RC to select a program<br />
type to search the special program. When PTY<br />
info is available, press OSD button on the RC<br />
to display such information. If PTY is off, the<br />
searching is stopped.<br />
TV tuner operation<br />
• Connect a TV antenna to the TV antenna<br />
jack of the unit. Select TV mode.<br />
• To access the TV mode menu, press<br />
MODE button on front panel or remote to<br />
select TV mode or Tap TV icon on main menu<br />
screen to enter TV mode, then press<br />
button on the RC or panel. To select a menu<br />
page (Auto Program or Manual Program)<br />
press UP/DOWN cursor buttons on the RC or<br />
touch these items on the screen. To enter the<br />
selected page press ENTER button on the RC.<br />
Press UP/DOWN cursor buttons on the RC or<br />
touch the needed item on the screen to select<br />
an item, and then press ENTER button on the<br />
RC or press the item on the screen to adjust<br />
the setting. Touch BACK item on the screen or<br />
press button on the RC or panel to return to<br />
last settings list.<br />
AUTO PROGRAM<br />
• System: select TV system (SECAM/PAL).<br />
• Audio: select sound system (DK/BG/I).<br />
• Search: select to start automatical search<br />
and storing of TV channels.<br />
MANUAL PROGRAM<br />
• Storage: select the storage number of the<br />
channel.<br />
• System: select TV system (SECAM/PAL).<br />
• Audio: select sound system (DK/BG/I).<br />
• Channel: Select the number of the channel.<br />
• Fine: perform fine tuning of picture quality.<br />
• Memory: select on (memorize the found<br />
channel) or off (not memorize).<br />
Disc/USB/SD/MMC operations<br />
USB/SD/MMC notes<br />
USB format supports 1.1. Capacity: up to 8<br />
Gb.<br />
For correct and satisfactory operation,<br />
licensed SD/MMC memory cards of famous<br />
brands should be used with this unit. Avoid<br />
using memory cards of unknown brands.<br />
Capacity: up to 8 Gb.<br />
16


