

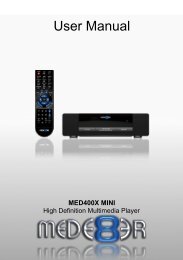
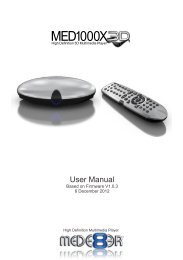
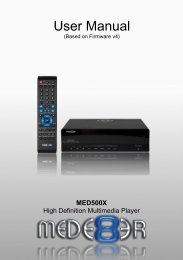
High Definition 3D Multimedia Player - Mede8er.org
High Definition 3D Multimedia Player - Mede8er.org
High Definition 3D Multimedia Player - Mede8er.org

Create successful ePaper yourself
Turn your PDF publications into a flip-book with our unique Google optimized e-Paper software.
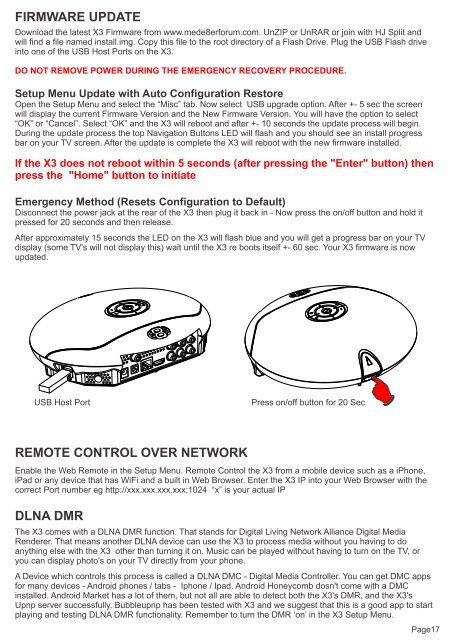
FIRMWARE UPDATE<br />
Download the latest X3 Firmware from www.mede8erforum.com. UnZIP or UnRAR or join with HJ Split and<br />
will find a file named install.img. Copy this file to the root directory of a Flash Drive. Plug the USB Flash drive<br />
into one of the USB Host Ports on the X3.<br />
DO NOT REMOVE POWER DURING THE EMERGENCY RECOVERY PROCEDURE.<br />
Setup Menu Update with Auto Configuration Restore<br />
Open the Setup Menu and select the “Misc” tab. Now select USB upgrade option. After +- 5 sec the screen<br />
will display the current Firmware Version and the New Firmware Version. You will have the option to select<br />
“OK” or “Cancel”. Select “OK” and the X3 will reboot and after +- 10 seconds the update process will begin.<br />
During the update process the top Navigation Buttons LED will flash and you should see an install progress<br />
bar on your TV screen. After the update is complete the X3 will reboot with the new firmware installed.<br />
If the X3 does not reboot within 5 seconds (after pressing the "Enter" button) then<br />
press the "Home" button to initiate<br />
Emergency Method (Resets Configuration to Default)<br />
Disconnect the power jack at the rear of the X3 then plug it back in - Now press the on/off button and hold it<br />
pressed for 20 seconds and then release.<br />
After approximately 15 seconds the LED on the X3 will flash blue and you will get a progress bar on your TV<br />
display (some TV's will not display this) wait until the X3 re boots itself +- 60 sec. Your X3 firmware is now<br />
updated.<br />
USB Host Port<br />
Press on/off button for 20 Sec<br />
REMOTE CONTROL OVER NETWORK<br />
Enable the Web Remote in the Setup Menu. Remote Control the X3 from a mobile device such as a iPhone,<br />
iPad or any device that has WiFi and a built in Web Browser. Enter the X3 IP into your Web Browser with the<br />
correct Port number eg http://xxx.xxx.xxx.xxx:1024 “x” is your actual IP<br />
DLNA DMR<br />
The X3 comes with a DLNA DMR function. That stands for Digital Living Network Alliance Digital Media<br />
Renderer. That means another DLNA device can use the X3 to process media without you having to do<br />
anything else with the X3 other than turning it on. Music can be played without having to turn on the TV, or<br />
you can display photo's on your TV directly from your phone.<br />
A Device which controls this process is called a DLNA DMC - Digital Media Controller. You can get DMC apps<br />
for many devices - Android phones / tabs - Iphone / Ipad. Android Honeycomb dosn't come with a DMC<br />
installed. Android Market has a lot of them, but not all are able to detect both the X3's DMR, and the X3's<br />
Upnp server successfully. Bubbleupnp has been tested with X3 and we suggest that this is a good app to start<br />
playing and testing DLNA DMR functionality. Remember to turn the DMR ‘on’ in the X3 Setup Menu.<br />
Page17


![Review [Media Center]: Mede8er MED500X (+ video)](https://img.yumpu.com/3934389/1/184x260/review-media-center-mede8er-med500x-video.jpg?quality=85)