NXT Controller Manual IP Assignment in WAN ... - Keri Systems
NXT Controller Manual IP Assignment in WAN ... - Keri Systems
NXT Controller Manual IP Assignment in WAN ... - Keri Systems

Create successful ePaper yourself
Turn your PDF publications into a flip-book with our unique Google optimized e-Paper software.
<strong>NXT</strong> <strong>Controller</strong> <strong>Manual</strong> <strong>IP</strong> <strong>Assignment</strong> <strong>in</strong> <strong>WAN</strong> Environments<br />
Application Note<br />
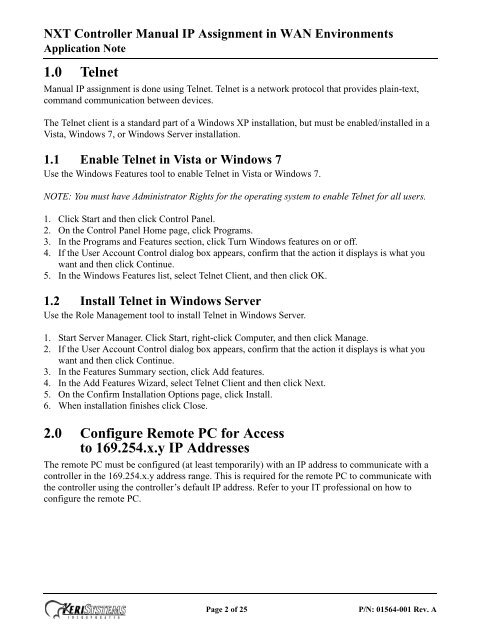
1.0 Telnet<br />
<strong>Manual</strong> <strong>IP</strong> assignment is done us<strong>in</strong>g Telnet. Telnet is a network protocol that provides pla<strong>in</strong>-text,<br />
command communication between devices.<br />
The Telnet client is a standard part of a W<strong>in</strong>dows XP <strong>in</strong>stallation, but must be enabled/<strong>in</strong>stalled <strong>in</strong> a<br />
Vista, W<strong>in</strong>dows 7, or W<strong>in</strong>dows Server <strong>in</strong>stallation.<br />
1.1 Enable Telnet <strong>in</strong> Vista or W<strong>in</strong>dows 7<br />
Use the W<strong>in</strong>dows Features tool to enable Telnet <strong>in</strong> Vista or W<strong>in</strong>dows 7.<br />
NOTE: You must have Adm<strong>in</strong>istrator Rights for the operat<strong>in</strong>g system to enable Telnet for all users.<br />
1. Click Start and then click Control Panel.<br />
2. On the Control Panel Home page, click Programs.<br />
3. In the Programs and Features section, click Turn W<strong>in</strong>dows features on or off.<br />
4. If the User Account Control dialog box appears, confirm that the action it displays is what you<br />
want and then click Cont<strong>in</strong>ue.<br />
5. In the W<strong>in</strong>dows Features list, select Telnet Client, and then click OK.<br />
1.2 Install Telnet <strong>in</strong> W<strong>in</strong>dows Server<br />
Use the Role Management tool to <strong>in</strong>stall Telnet <strong>in</strong> W<strong>in</strong>dows Server.<br />
1. Start Server Manager. Click Start, right-click Computer, and then click Manage.<br />
2. If the User Account Control dialog box appears, confirm that the action it displays is what you<br />
want and then click Cont<strong>in</strong>ue.<br />
3. In the Features Summary section, click Add features.<br />
4. In the Add Features Wizard, select Telnet Client and then click Next.<br />
5. On the Confirm Installation Options page, click Install.<br />
6. When <strong>in</strong>stallation f<strong>in</strong>ishes click Close.<br />
2.0 Configure Remote PC for Access <br />
to 169.254.x.y <strong>IP</strong> Addresses<br />
The remote PC must be configured (at least temporarily) with an <strong>IP</strong> address to communicate with a<br />
controller <strong>in</strong> the 169.254.x.y address range. This is required for the remote PC to communicate with<br />
the controller us<strong>in</strong>g the controller’s default <strong>IP</strong> address. Refer to your IT professional on how to<br />
configure the remote PC.<br />
Page 2 of 25<br />
P/N: 01564-001 Rev. A