manual - Sharkoon
manual - Sharkoon
manual - Sharkoon

You also want an ePaper? Increase the reach of your titles
YUMPU automatically turns print PDFs into web optimized ePapers that Google loves.
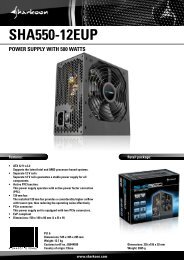
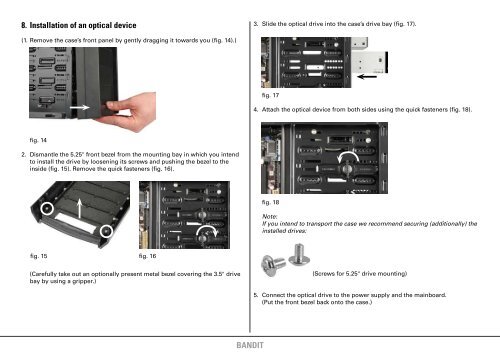
8. Installation of an optical device<br />
3. Slide the optical drive into the case’s drive bay (fig. 17).<br />
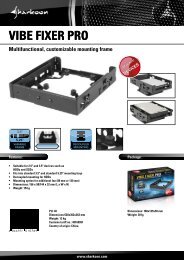
(1. Remove the case’s front panel by gently dragging it towards you (fig. 14).)<br />
fig. 17<br />
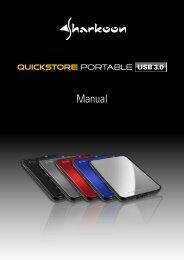
4. Attach the optical device from both sides using the quick fasteners (fig. 18).<br />
fig. 14<br />
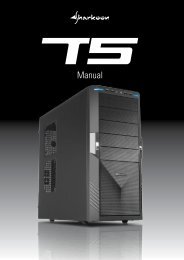
2. Dismantle the 5.25" front bezel from the mounting bay in which you intend<br />
to install the drive by loosening its screws and pushing the bezel to the<br />
inside (fig. 15). Remove the quick fasteners (fig. 16).<br />
fig. 18<br />
Note:<br />
If you intend to transport the case we recommend securing (additionally) the<br />
installed drives:<br />
fig. 15 fig. 16<br />
(Carefully take out an optionally present metal bezel covering the 3.5" drive<br />
bay by using a gripper.)<br />
(Screws for 5.25" drive mounting)<br />
5. Connect the optical drive to the power supply and the mainboard.<br />
(Put the front bezel back onto the case.)<br />
bandit