Installation Manual - Thermomax Technologies
Installation Manual - Thermomax Technologies
Installation Manual - Thermomax Technologies

Create successful ePaper yourself
Turn your PDF publications into a flip-book with our unique Google optimized e-Paper software.
.<br />
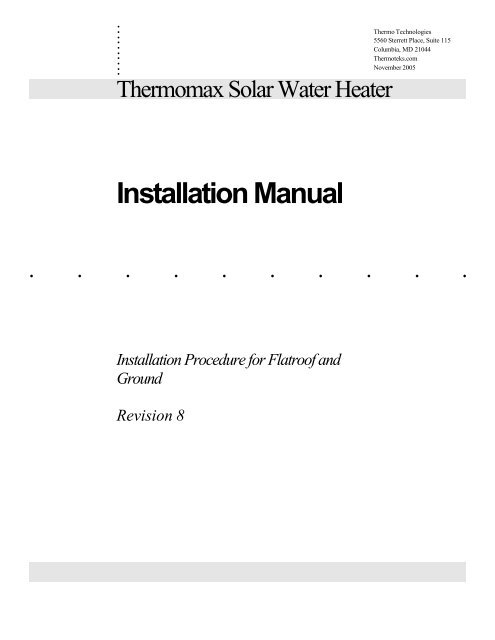
<strong>Thermomax</strong> Solar Water Heater<br />
Thermo <strong>Technologies</strong><br />
5560 Sterrett Place, Suite 115<br />
Columbia, MD 21044<br />
Thermoteks.com<br />
November 2005<br />
<strong>Installation</strong> <strong>Manual</strong><br />
. . . . . . . . . .<br />
<strong>Installation</strong> Procedure for Flatroof and<br />
Ground<br />
Revision 8
.<br />
<strong>Thermomax</strong> Solar Water<br />
Heater <strong>Installation</strong><br />
CAUTIONS<br />
YOU MUST THOROUGHLY READ BASIC GUIDE FOR THERMOMAX<br />
TECHNICAL DETAILS & INSTALLATION MANUAL BEFORE<br />
COMMENCING SYSTEM INSTALLATION<br />
1. The <strong>Thermomax</strong> tubes should under no circumstances be exposed to the sun<br />
for extended periods (maximum one day) if the system has not been filled.<br />
No load operation of the system will permanently damage <strong>Thermomax</strong><br />
tubes.<br />
2. The circulating pump should under no circumstances be switched off during<br />
a sunny day. This will create a high temperature and as a result, high<br />
pressure in the system. When not in use for extended periods, the<br />
circulating pump must be left switched on and a by-pass should divert the<br />
heat from the storage tank.<br />
3. The contractor shall verify true south and shall orient the collector tubes<br />
facing true south. The collector tilt angle shall be nominally set at latitude<br />
but never less than 25 ° . At a lower inclination, the output of the collector<br />
will be reduced.<br />
4. Unpack and install the collector tubes AFTER the manifold unit and pump<br />
has been installed and the piping has been connected.<br />
5. Gloves and eye protection should be worn when handling the glass.<br />
6. Avoid any sudden shock to the tubes.<br />
7. Avoid scratching the glass collector tubes, as this will reduce their strength.<br />
8. ALL LOCAL AUTHORITIES REGULATIONS AND RELEVA NT<br />
STANDARDS SHOULD BE FOLLOWED.<br />
2
Solar Collector <strong>Installation</strong> Procedure<br />
Select suitable locations for <strong>Thermomax</strong> Solar arrays. It should face due true south with a tilt angle of<br />
location latitude. Collector sizes, distances between brackets, and corresponding tilt angle of the collector<br />
are given in the following pages.<br />
(1) Position and bolt front brackets (Pt. No. A0167A) and rear brackets (Pt. No. A0166A) to<br />
the cement block using coach screws (pt. No. A0168B). The cement block shall weight 100<br />
lb. Minimum.<br />
(2) Use lead plugs (pt. No. A0836A) in concrete<br />
blocks.<br />
3
(3) Fix rear struts (Pt. No. B0007C) to rear bracket.<br />
(4) Bolt the bottom support rail (pt. No B0178A) to side rail (Pt. No. B0282A) and the front<br />
brackets hinge (Pt. No. A0174A) using lower hole in side rail. Distances from side rails to<br />
ends of the support rail ends should be equal.<br />
(5) Bolt top support rail (pt. No. B0288E) through lower hole in top end of side rail to hinge<br />
plate on top of rear strut (Pt. No. B0007B). Distances from side rails to top support rail ends<br />
should be equal.<br />
(6) Locate and secure a universal brace (Part No. B0006B) using the single hole, to the front<br />
bracket. Secure slotted end of universal brace to rear strut in either position shown. Locate<br />
second universal brace on other side of frame.<br />
(7) Secure a third universal brace diagonally between rear struts and cut off any excess<br />
lengths.<br />
4
(8) Tighten all nuts and bolts.<br />
(9) Locate manifold in top support rail lip and bolt as shown. Ensure the distance from the<br />
side rails to the manifold ends should be the same as the top support rail.<br />
(10) Locate manifold fittings to manifold inlet and outlet. Note that the air vent should be<br />
installed vertically.<br />
(11) Check all plumbing and piping between collector and hot water storage tank.<br />
(12) Switch on circulating pump.<br />
5
(13) Make sure there is no leak in piping system.<br />
(14) Check system pressure and flow rate.<br />
(15) Take -off manifold's lid and remove top layer of insulation from manifold.<br />
(A) With the supplied Stainless steel tube (Key Lever) open the pocket in<br />
the manifold chamber "B" by turning the Key Level "C" through 90 o . Unpack<br />
the first tube; insert condenser "A" gently through grommet in front of the<br />
manifold. Resting the tube body on the rubber pads of the top and bottom<br />
support rails, slide the condenser "A" into the open pocket. ENSURE BLUE<br />
SURFACE OF ABSORBER FACES UPPERMOST AND TOWARDS THE<br />
SOUTH.<br />
(B) Make sure the tube condenser is exactly between the two copper blocks<br />
and sits evenly through hole in manifold chamber.<br />
(C) Secure tubes by turning the Key Lever to original position.<br />
(D) Set clips over tubes to both top and bottom support rails.<br />
(E) Repeat stages (A), (B), (C), and (D) for all tubes.<br />
(16) Replace top layer of insulation into manifold. Replace manifold's lid and secure with selftapping<br />
screws.<br />
(17) Make the final inspection on each tube.<br />
(18) Set clips over tubes to both top and bottom support rails.<br />
(19) Switch the pump to control system<br />
The manifold flow and return connections are 3/4" copper pipes. Two compression couplings are<br />
included in each manifold system. These couplings are to be used. Manifold inlet and outlet<br />
should not be sol dered.<br />
6