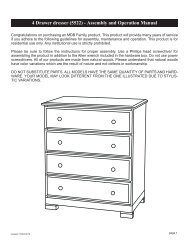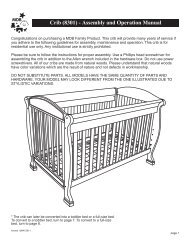
Changer (5152) - Assembly and Operation Manual - DaVinci Baby
Changer (5152) - Assembly and Operation Manual - DaVinci Baby
Changer (5152) - Assembly and Operation Manual - DaVinci Baby

You also want an ePaper? Increase the reach of your titles
YUMPU automatically turns print PDFs into web optimized ePapers that Google loves.
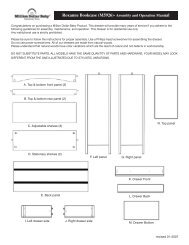
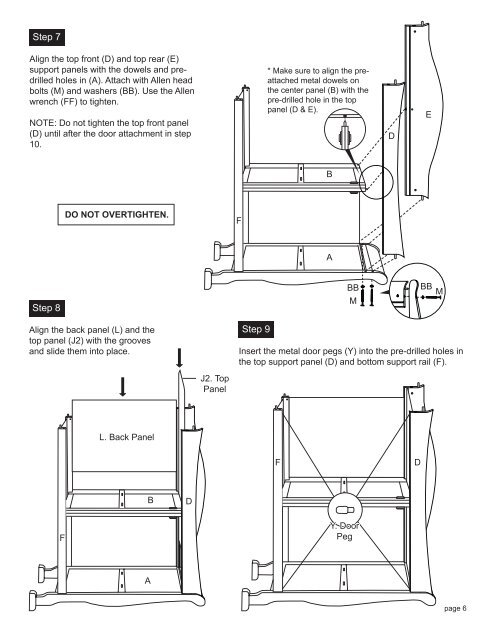
Step 7<br />
Align the top front (D) <strong>and</strong> top rear (E)<br />
support panels with the dowels <strong>and</strong> predrilled<br />
holes in (A). Attach with Allen head<br />
bolts (M) <strong>and</strong> washers (BB). Use the Allen<br />
wrench (FF) to tighten.<br />
NOTE: Do not tighten the top front panel<br />
(D) until after the door attachment in step<br />
10.<br />
* Make sure to align the preattached<br />
metal dowels on<br />
the center panel (B) with the<br />
pre-drilled hole in the top<br />
panel (D & E).<br />
D<br />
E<br />
B<br />
DO NOT OVERTIGHTEN.<br />
F<br />
A<br />
Step 8<br />
BB<br />
M<br />
BB M<br />
Align the back panel (L) <strong>and</strong> the<br />
top panel (J2) with the grooves<br />
<strong>and</strong> slide them into place.<br />
Step 9<br />
Insert the metal door pegs (Y) into the pre-drilled holes in<br />
the top support panel (D) <strong>and</strong> bottom support rail (F).<br />
J2. Top<br />
Panel<br />
L. Back Panel<br />
F<br />
D<br />
B<br />
D<br />
F<br />
Y. Door<br />
Peg<br />
A<br />
page 6