OW5000 TAPI Link Operations Guide - NEC Corporation of America
OW5000 TAPI Link Operations Guide - NEC Corporation of America
OW5000 TAPI Link Operations Guide - NEC Corporation of America

You also want an ePaper? Increase the reach of your titles
YUMPU automatically turns print PDFs into web optimized ePapers that Google loves.
3-8 Configuring the <strong>TAPI</strong> <strong>Link</strong> Service Provider<br />
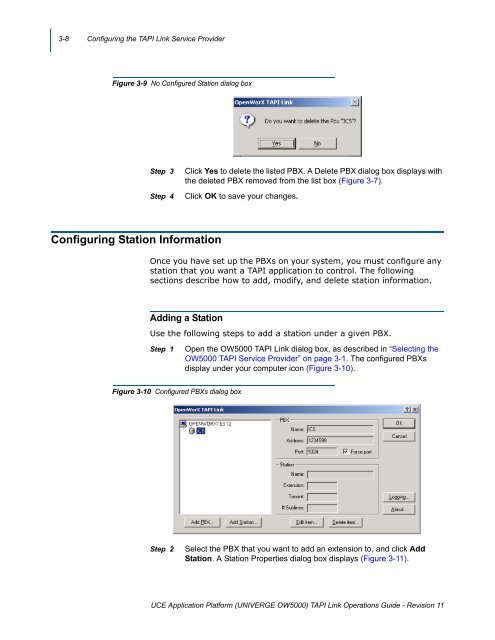
Figure 3-9 No Configured Station dialog box<br />
Step 3<br />
Step 4<br />
Click Yes to delete the listed PBX. A Delete PBX dialog box displays with<br />
the deleted PBX removed from the list box (Figure 3-7).<br />
Click OK to save your changes.<br />
Configuring Station Information<br />
Once you have set up the PBXs on your system, you must configure any<br />
station that you want a <strong>TAPI</strong> application to control. The following<br />
sections describe how to add, modify, and delete station information.<br />
Adding a Station<br />
Use the following steps to add a station under a given PBX.<br />
Step 1<br />
Open the <strong>OW5000</strong> <strong>TAPI</strong> <strong>Link</strong> dialog box, as described in “Selecting the<br />
<strong>OW5000</strong> <strong>TAPI</strong> Service Provider” on page 3-1. The configured PBXs<br />
display under your computer icon (Figure 3-10).<br />
Figure 3-10 Configured PBXs dialog box<br />
Step 2<br />
Select the PBX that you want to add an extension to, and click Add<br />
Station. A Station Properties dialog box displays (Figure 3-11).<br />
UCE Application Platform (UNIVERGE <strong>OW5000</strong>) <strong>TAPI</strong> <strong>Link</strong> <strong>Operations</strong> <strong>Guide</strong> - Revision 11