ANAMORPHIC LENS ATTACHMENT PLATE - Planar
ANAMORPHIC LENS ATTACHMENT PLATE - Planar
ANAMORPHIC LENS ATTACHMENT PLATE - Planar

Create successful ePaper yourself
Turn your PDF publications into a flip-book with our unique Google optimized e-Paper software.
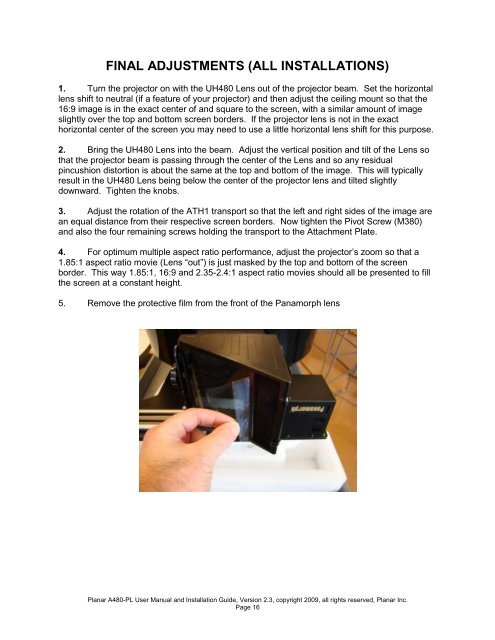
FINAL ADJUSTMENTS (ALL INSTALLATIONS)<br />
1. Turn the projector on with the UH480 Lens out of the projector beam. Set the horizontal<br />
lens shift to neutral (if a feature of your projector) and then adjust the ceiling mount so that the<br />
16:9 image is in the exact center of and square to the screen, with a similar amount of image<br />
slightly over the top and bottom screen borders. If the projector lens is not in the exact<br />
horizontal center of the screen you may need to use a little horizontal lens shift for this purpose.<br />
2. Bring the UH480 Lens into the beam. Adjust the vertical position and tilt of the Lens so<br />
that the projector beam is passing through the center of the Lens and so any residual<br />
pincushion distortion is about the same at the top and bottom of the image. This will typically<br />
result in the UH480 Lens being below the center of the projector lens and tilted slightly<br />
downward. Tighten the knobs.<br />
3. Adjust the rotation of the ATH1 transport so that the left and right sides of the image are<br />
an equal distance from their respective screen borders. Now tighten the Pivot Screw (M380)<br />
and also the four remaining screws holding the transport to the Attachment Plate.<br />
4. For optimum multiple aspect ratio performance, adjust the projector’s zoom so that a<br />
1.85:1 aspect ratio movie (Lens “out”) is just masked by the top and bottom of the screen<br />
border. This way 1.85:1, 16:9 and 2.35-2.4:1 aspect ratio movies should all be presented to fill<br />
the screen at a constant height.<br />
5. Remove the protective film from the front of the Panamorph lens<br />
<strong>Planar</strong> A480-PL User Manual and Installation Guide, Version 2.3, copyright 2009, all rights reserved, <strong>Planar</strong> Inc.<br />
Page 16