Pad ROL⢠200 XT - Johnstech
Pad ROL⢠200 XT - Johnstech
Pad ROL⢠200 XT - Johnstech
You also want an ePaper? Increase the reach of your titles
YUMPU automatically turns print PDFs into web optimized ePapers that Google loves.
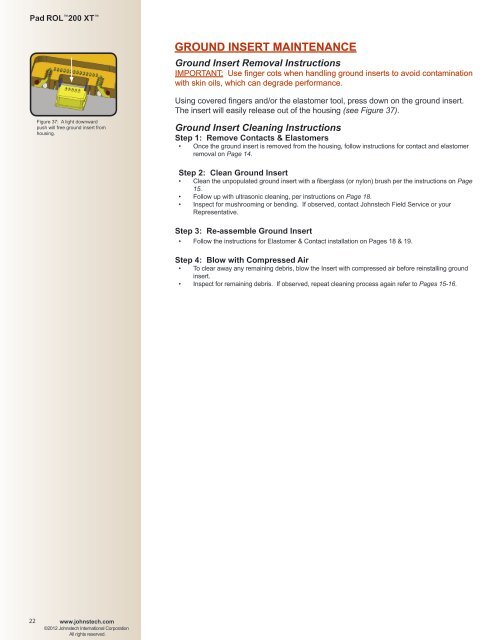
<strong>Pad</strong> ROL <strong>200</strong> <strong>XT</strong> GROUND INSERT MAINTENANCEGround Insert Removal InstructionsIMPORTANT: Use finger cots when handling ground inserts to avoid contaminationwith skin oils, which can degrade performance.Figure 37: A light downwardpush will free ground insert fromhousing.Using covered fingers and/or the elastomer tool, press down on the ground insert.The insert will easily release out of the housing (see Figure 37).Ground Insert Cleaning InstructionsStep 1: Remove Contacts & Elastomers• Once the ground insert is removed from the housing, follow instructions for contact and elastomerremoval on Page 14.Step 2: Clean Ground Insert• Clean the unpopulated ground insert with a fiberglass (or nylon) brush per the instructions on Page15.• Follow up with ultrasonic cleaning, per instructions on Page 18.• Inspect for mushrooming or bending. If observed, contact <strong>Johnstech</strong> Field Service or yourRepresentative.Step 3: Re-assemble Ground Insert• Follow the instructions for Elastomer & Contact installation on Pages 18 & 19.Step 4: Blow with Compressed Air• To clear away any remaining debris, blow the Insert with compressed air before reinstalling groundinsert.• Inspect for remaining debris. If observed, repeat cleaning process again refer to Pages 15-16.22www.johnstech.com©2012 <strong>Johnstech</strong> International CorporationAll rights reserved.


