Pad ROL⢠200 XT - Johnstech
Pad ROL⢠200 XT - Johnstech
Pad ROL⢠200 XT - Johnstech

You also want an ePaper? Increase the reach of your titles
YUMPU automatically turns print PDFs into web optimized ePapers that Google loves.
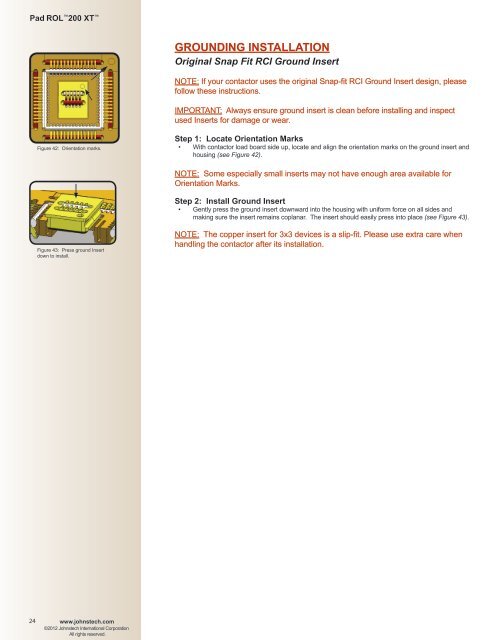
<strong>Pad</strong> ROL <strong>200</strong> <strong>XT</strong> GROUNDING INSTALLATIONOriginal Snap Fit RCI Ground InsertNOTE: If your contactor uses the original Snap-fit RCI Ground Insert design, pleasefollow these instructions.IMPORTANT: Always ensure ground insert is clean before installing and inspectused Inserts for damage or wear.Figure 42: Orientation marks.Step 1: Locate Orientation Marks• With contactor load board side up, locate and align the orientation marks on the ground insert andhousing (see Figure 42).NOTE: Some especially small inserts may not have enough area available forOrientation Marks.Step 2: Install Ground Insert• Gently press the ground insert downward into the housing with uniform force on all sides andmaking sure the insert remains coplanar. The insert should easily press into place (see Figure 43).Figure 43: Press ground Insertdown to install.NOTE: The copper insert for 3x3 devices is a slip-fit. Please use extra care whenhandling the contactor after its installation.24www.johnstech.com©2012 <strong>Johnstech</strong> International CorporationAll rights reserved.