SP Series Network Printer Guide - Datacard
SP Series Network Printer Guide - Datacard
SP Series Network Printer Guide - Datacard
- No tags were found...

Create successful ePaper yourself
Turn your PDF publications into a flip-book with our unique Google optimized e-Paper software.
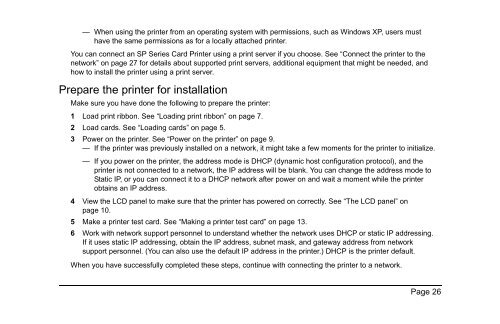
— When using the printer from an operating system with permissions, such as Windows XP, users musthave the same permissions as for a locally attached printer.You can connect an <strong>SP</strong> <strong>Series</strong> Card <strong>Printer</strong> using a print server if you choose. See “Connect the printer to thenetwork” on page 27 for details about supported print servers, additional equipment that might be needed, andhow to install the printer using a print server.Prepare the printer for installationMake sure you have done the following to prepare the printer:1 Load print ribbon. See “Loading print ribbon” on page 7.2 Load cards. See “Loading cards” on page 5.3 Power on the printer. See “Power on the printer” on page 9.— If the printer was previously installed on a network, it might take a few moments for the printer to initialize.— If you power on the printer, the address mode is DHCP (dynamic host configuration protocol), and theprinter is not connected to a network, the IP address will be blank. You can change the address mode toStatic IP, or you can connect it to a DHCP network after power on and wait a moment while the printerobtains an IP address.4 View the LCD panel to make sure that the printer has powered on correctly. See “The LCD panel” onpage 10.5 Make a printer test card. See “Making a printer test card” on page 13.6 Work with network support personnel to understand whether the network uses DHCP or static IP addressing.If it uses static IP addressing, obtain the IP address, subnet mask, and gateway address from networksupport personnel. (You can also use the default IP address in the printer.) DHCP is the printer default.When you have successfully completed these steps, continue with connecting the printer to a network.Page 26