Overview (cont.)OPERATIONTurn on Jet1, Jet2, and the blower by pressing the appropriatebutton. Note that Jet1 and Jet2 will activate a low speedwinding with the first press of the button and a high speedwinding with the second press.Observe that as each component is successfully activated,the associated button will turn green. If, however, a certaincomponent appears to be inoperative, a quick series ofautomatic tests will be performed to isolate the failure tothat component or some other problem area, like a blownfuse. If the tests determine that the component is actuallyfailed, the button will turn white, indicating the likely need forreplacement of that component.Turn on the LED lighting by pressing the LEDs button. Note thateach time the LEDs are turned on, the display will show thecurrent color program, which can be changed as desired. Thelast selection is a music reflections program that follows thebeat of the music. If selected, the brightness can be changedwith the up and down buttons.Turn on the audio by pressing the audio button. Follow thedisplay messages to adjust volume, bass, music source, andFM tuning.HOME SCREENThe main screen is the “home” screen: Use the “pump 1”, “pump 2”, or “blower” buttons toactivate the desired component.a) If the button is red, it means the component is off.b) If the button is yellow, it means the low speed isactivated.c) If the button is green, the high speed is activated.d) The blower is simply green when it is on, and red whenit is off.e) If the button turns white, that means there is some sortof a problem associated with that component (lowcurrent, blown fuse, disconnected, etc.) If a profile is selected, the name of the profile will bedisplayed below the “welcome” banner. In the lower left-hand corner, the current time is displayed. In the lower right-hand corner, the current watertemperature is displayed. A “sun” icon is displayed directly to the left of the watertemperature whenever the heater is energized. Note: If the spa does not have a blower, a “ My Spa”button will be shown. Selecting “My Spa” acts the sameas selecting “My Spa” from the “Setup” screen. “My Spa”is described in detail below. From any other screen, the “Back” button will take youto the previous screen. On any screen that has a “help”button present, it will take you to a brief description of thescreen’s purpose and use.SETUP SCREENTo set the temperature, time, filter hours, filter mode, userprofiles, or physical configuration of the spa, select “Setup”on the “Home” screen. More detailed explanations are withinthe text.6
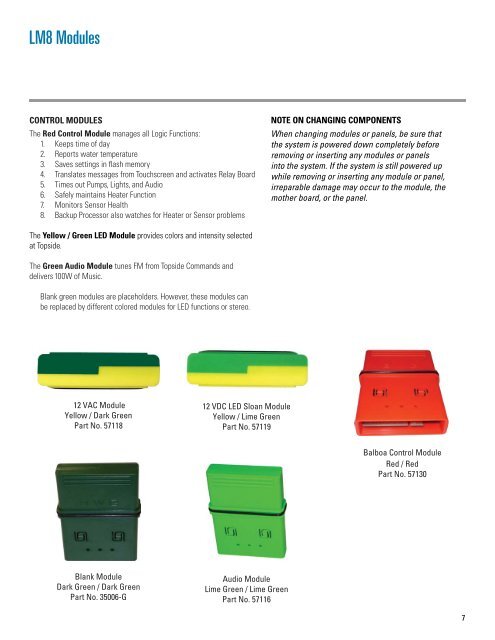
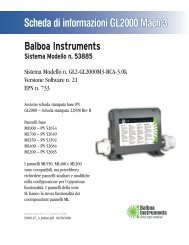
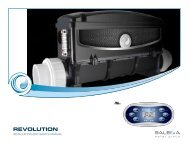
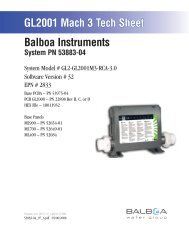
LM8 ModulesCONTROL MODULESThe Red Control Module manages all Logic Functions:1. Keeps time of day2. Reports water temperature3. Saves settings in flash memory4. Translates messages from Touchscreen and activates Relay Board5. Times out Pumps, Lights, and Audio6. Safely maintains Heater Function7. Monitors Sensor Health8. Backup Processor also watches for Heater or Sensor problemsNOTE ON CHANGING COMPONENTSWhen changing modules or panels, be sure thatthe system is powered down completely beforeremoving or inserting any modules or panelsinto the system. If the system is still powered upwhile removing or inserting any module or panel,irreparable damage may occur to the module, themother board, or the panel.The Yellow / Green LED Module provides colors and intensity selectedat Topside.The Green Audio Module tunes FM from Topside Commands anddelivers 100W of Music.Blank green modules are placeholders. However, these modules canbe replaced by different colored modules for LED functions or stereo.12 VAC ModuleYellow / Dark GreenPart No. 5711812 VDC LED Sloan ModuleYellow / Lime GreenPart No. 57119<strong>Balboa</strong> Control ModuleRed / RedPart No. 57130Blank ModuleDark Green / Dark GreenPart No. 35006-GAudio ModuleLime Green / Lime GreenPart No. 571167