How to setup AR-7284Wna to the Internet using the ... - Edimax
How to setup AR-7284Wna to the Internet using the ... - Edimax
How to setup AR-7284Wna to the Internet using the ... - Edimax

You also want an ePaper? Increase the reach of your titles
YUMPU automatically turns print PDFs into web optimized ePapers that Google loves.
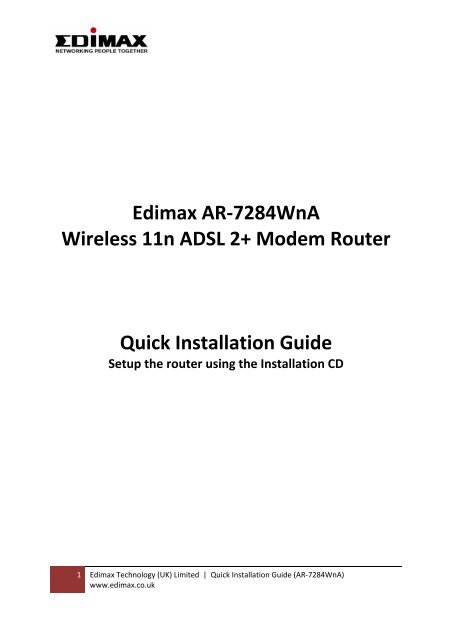
<strong>Edimax</strong> <strong>AR</strong>‐7284WnAWireless 11n ADSL 2+ Modem RouterQuick Installation GuideSetup <strong>the</strong> router <strong>using</strong> <strong>the</strong> Installation CD1 <strong>Edimax</strong> Technology (UK) Limited | Quick Installation Guide (<strong>AR</strong>‐7284WnA)www.edimax.co.uk
1. Hardware SetupStep 1. Connect <strong>the</strong> ADSL lineConnect <strong>the</strong> RJ‐11 (<strong>the</strong> telephone cable supplied) from <strong>the</strong> telephone socket <strong>to</strong> <strong>the</strong> ADSLport of <strong>the</strong> routerStep 2. Connect <strong>the</strong> router <strong>to</strong> your PCConnect <strong>the</strong> router <strong>to</strong> your PC with an e<strong>the</strong>rnet cable <strong>to</strong> one of <strong>the</strong> LAN port of <strong>the</strong> router.Step 3. Connect <strong>the</strong> power adapter <strong>to</strong> <strong>the</strong> routerConnect <strong>the</strong> power adapter <strong>to</strong> <strong>the</strong> power jack on <strong>the</strong> rear panel of router.Step 4. Check ADSL light statusPlease check on <strong>the</strong> ADSL Led on <strong>the</strong> front panel of <strong>the</strong> router. The router will detect <strong>the</strong>ADSL‐capable telephone line. If <strong>the</strong> ADSL light is on solid, your broadband is active. <strong>How</strong>ever,if <strong>the</strong> light is flashing, please call your internet service provider <strong>to</strong> confirm your broadbandstatus.Note: Please use <strong>the</strong> power adapter provided with <strong>the</strong> router, do NOT use any o<strong>the</strong>r poweradapter from o<strong>the</strong>r sources.2 <strong>Edimax</strong> Technology (UK) Limited | Quick Installation Guide (<strong>AR</strong>‐7284WnA)www.edimax.co.uk
2. Router ConfigurationInsert <strong>the</strong> installation CD <strong>to</strong> <strong>the</strong> computer’s CD ROM. Then, select English.3 <strong>Edimax</strong> Technology (UK) Limited | Quick Installation Guide (<strong>AR</strong>‐7284WnA)www.edimax.co.uk
Click Next.4 <strong>Edimax</strong> Technology (UK) Limited | Quick Installation Guide (<strong>AR</strong>‐7284WnA)www.edimax.co.uk
Check <strong>the</strong> cable connection and tick Yes once confirmed. Click Next.Select <strong>AR</strong>‐7284WnA.5 <strong>Edimax</strong> Technology (UK) Limited | Quick Installation Guide (<strong>AR</strong>‐7284WnA)www.edimax.co.uk
Enter Current Password is 1234 and your new router password. If you wish <strong>to</strong> use 1234,type 1234 in New and Confirmed Password.6 <strong>Edimax</strong> Technology (UK) Limited | Quick Installation Guide (<strong>AR</strong>‐7284WnA)www.edimax.co.uk
Select United Kingdom and your ISP. If your ISP is not listed, choose O<strong>the</strong>rs. Click Next.7 <strong>Edimax</strong> Technology (UK) Limited | Quick Installation Guide (<strong>AR</strong>‐7284WnA)www.edimax.co.uk
Enter your ISP username and password. Then, click Apply.• The username is provided by your ISP. It is similar <strong>to</strong> an email address, eg:username@isp.co.uk.• Please check if you have cap lock on when you enter your password.8 <strong>Edimax</strong> Technology (UK) Limited | Quick Installation Guide (<strong>AR</strong>‐7284WnA)www.edimax.co.uk
Click Apply and <strong>the</strong> internet will be connected.9 <strong>Edimax</strong> Technology (UK) Limited | Quick Installation Guide (<strong>AR</strong>‐7284WnA)www.edimax.co.uk
Once <strong>the</strong> internet is connected, you can continue <strong>the</strong> installation <strong>to</strong> configure <strong>the</strong> wirelesssettings.10 <strong>Edimax</strong> Technology (UK) Limited | Quick Installation Guide (<strong>AR</strong>‐7284WnA)www.edimax.co.uk
Once completed, click Exit <strong>to</strong> exit <strong>the</strong> installation wizard.11 <strong>Edimax</strong> Technology (UK) Limited | Quick Installation Guide (<strong>AR</strong>‐7284WnA)www.edimax.co.uk