Spacecraft Structures pdf - ER - NASA
Spacecraft Structures pdf - ER - NASA
Spacecraft Structures pdf - ER - NASA
- No tags were found...

You also want an ePaper? Increase the reach of your titles
YUMPU automatically turns print PDFs into web optimized ePapers that Google loves.
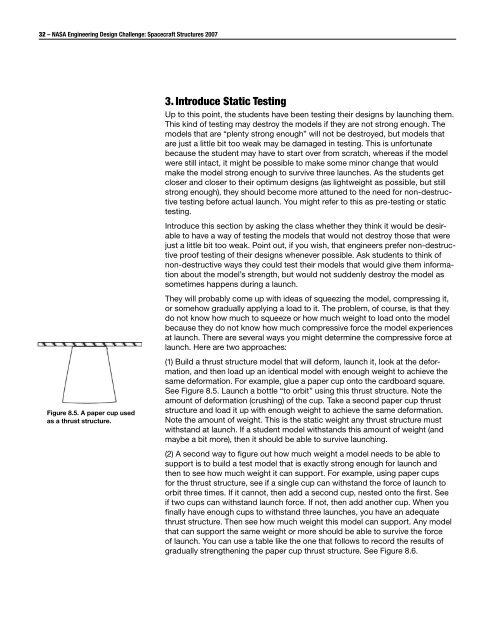
32 – <strong>NASA</strong> Engineering Design Challenge: <strong>Spacecraft</strong> <strong>Structures</strong> 2007Figure 8.5. A paper cup usedas a thrust structure.3. Introduce Static TestingUp to this point, the students have been testing their designs by launching them.This kind of testing may destroy the models if they are not strong enough. Themodels that are “plenty strong enough” will not be destroyed, but models thatare just a little bit too weak may be damaged in testing. This is unfortunatebecause the student may have to start over from scratch, whereas if the modelwere still intact, it might be possible to make some minor change that wouldmake the model strong enough to survive three launches. As the students getcloser and closer to their optimum designs (as lightweight as possible, but stillstrong enough), they should become more attuned to the need for non-destructivetesting before actual launch. You might refer to this as pre-testing or statictesting.Introduce this section by asking the class whether they think it would be desirableto have a way of testing the models that would not destroy those that werejust a little bit too weak. Point out, if you wish, that engineers prefer non-destructiveproof testing of their designs whenever possible. Ask students to think ofnon-destructive ways they could test their models that would give them informationabout the model’s strength, but would not suddenly destroy the model assometimes happens during a launch.They will probably come up with ideas of squeezing the model, compressing it,or somehow gradually applying a load to it. The problem, of course, is that theydo not know how much to squeeze or how much weight to load onto the modelbecause they do not know how much compressive force the model experiencesat launch. There are several ways you might determine the compressive force atlaunch. Here are two approaches:(1) Build a thrust structure model that will deform, launch it, look at the deformation,and then load up an identical model with enough weight to achieve thesame deformation. For example, glue a paper cup onto the cardboard square.See Figure 8.5. Launch a bottle “to orbit” using this thrust structure. Note theamount of deformation (crushing) of the cup. Take a second paper cup thruststructure and load it up with enough weight to achieve the same deformation.Note the amount of weight. This is the static weight any thrust structure mustwithstand at launch. If a student model withstands this amount of weight (andmaybe a bit more), then it should be able to survive launching.(2) A second way to figure out how much weight a model needs to be able tosupport is to build a test model that is exactly strong enough for launch andthen to see how much weight it can support. For example, using paper cupsfor the thrust structure, see if a single cup can withstand the force of launch toorbit three times. If it cannot, then add a second cup, nested onto the first. Seeif two cups can withstand launch force. If not, then add another cup. When youfinally have enough cups to withstand three launches, you have an adequatethrust structure. Then see how much weight this model can support. Any modelthat can support the same weight or more should be able to survive the forceof launch. You can use a table like the one that follows to record the results ofgradually strengthening the paper cup thrust structure. See Figure 8.6.