308369K 5-, 10-, and 15-Gallon Pressure Tanks ... - Graco Inc.
308369K 5-, 10-, and 15-Gallon Pressure Tanks ... - Graco Inc.
308369K 5-, 10-, and 15-Gallon Pressure Tanks ... - Graco Inc.
You also want an ePaper? Increase the reach of your titles
YUMPU automatically turns print PDFs into web optimized ePapers that Google loves.
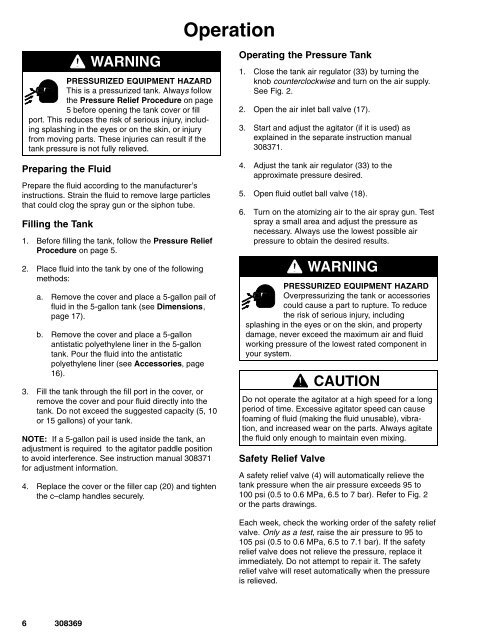
OperationWARNINGPRESSURIZED EQUIPMENT HAZARDThis is a pressurized tank. Always followthe <strong>Pressure</strong> Relief Procedure on page5 before opening the tank cover or fillport. This reduces the risk of serious injury, includingsplashing in the eyes or on the skin, or injuryfrom moving parts. These injuries can result if thetank pressure is not fully relieved.Preparing the FluidPrepare the fluid according to the manufacturer’sinstructions. Strain the fluid to remove large particlesthat could clog the spray gun or the siphon tube.Filling the Tank1. Before filling the tank, follow the <strong>Pressure</strong> ReliefProcedure on page 5.2. Place fluid into the tank by one of the followingmethods:a. Remove the cover <strong>and</strong> place a 5-gallon pail offluid in the 5-gallon tank (see Dimensions,page 17).b. Remove the cover <strong>and</strong> place a 5-gallonantistatic polyethylene liner in the 5-gallontank. Pour the fluid into the antistaticpolyethylene liner (see Accessories, page16).3. Fill the tank through the fill port in the cover, orremove the cover <strong>and</strong> pour fluid directly into thetank. Do not exceed the suggested capacity (5, <strong>10</strong>or <strong>15</strong> gallons) of your tank.NOTE: If a 5-gallon pail is used inside the tank, anadjustment is required to the agitator paddle positionto avoid interference. See instruction manual 308371for adjustment information.4. Replace the cover or the filler cap (20) <strong>and</strong> tightenthe c–clamp h<strong>and</strong>les securely.Operating the <strong>Pressure</strong> Tank1. Close the tank air regulator (33) by turning theknob counterclockwise <strong>and</strong> turn on the air supply.See Fig. 2.2. Open the air inlet ball valve (17).3. Start <strong>and</strong> adjust the agitator (if it is used) asexplained in the separate instruction manual308371.4. Adjust the tank air regulator (33) to theapproximate pressure desired.5. Open fluid outlet ball valve (18).6. Turn on the atomizing air to the air spray gun. Testspray a small area <strong>and</strong> adjust the pressure asnecessary. Always use the lowest possible airpressure to obtain the desired results.WARNINGPRESSURIZED EQUIPMENT HAZARDOverpressurizing the tank or accessoriescould cause a part to rupture. To reducethe risk of serious injury, includingsplashing in the eyes or on the skin, <strong>and</strong> propertydamage, never exceed the maximum air <strong>and</strong> fluidworking pressure of the lowest rated component inyour system.CAUTIONDo not operate the agitator at a high speed for a longperiod of time. Excessive agitator speed can causefoaming of fluid (making the fluid unusable), vibration,<strong>and</strong> increased wear on the parts. Always agitatethe fluid only enough to maintain even mixing.Safety Relief ValveA safety relief valve (4) will automatically relieve thetank pressure when the air pressure exceeds 95 to<strong>10</strong>0 psi (0.5 to 0.6 MPa, 6.5 to 7 bar). Refer to Fig. 2or the parts drawings.Each week, check the working order of the safety reliefvalve. Only as a test, raise the air pressure to 95 to<strong>10</strong>5 psi (0.5 to 0.6 MPa, 6.5 to 7.1 bar). If the safetyrelief valve does not relieve the pressure, replace itimmediately. Do not attempt to repair it. The safetyrelief valve will reset automatically when the pressureis relieved.


