

309325D Magnum Outlet/Inlet Valve Repair Kit, dx AX ... - Graco Inc.
309325D Magnum Outlet/Inlet Valve Repair Kit, dx AX ... - Graco Inc.
309325D Magnum Outlet/Inlet Valve Repair Kit, dx AX ... - Graco Inc.

Create successful ePaper yourself
Turn your PDF publications into a flip-book with our unique Google optimized e-Paper software.
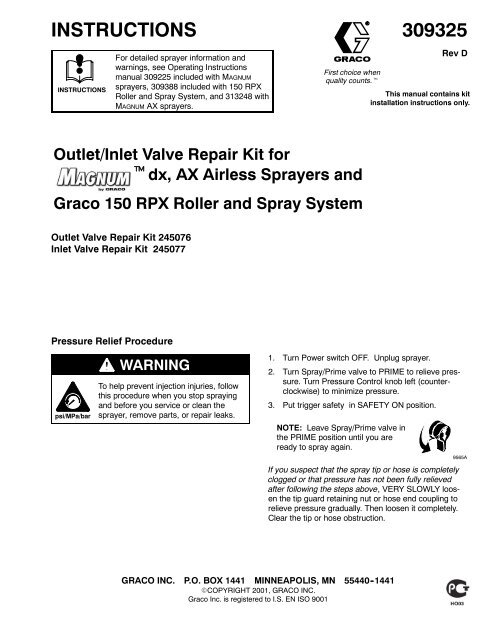
INSTRUCTIONSINSTRUCTIONSFor detailed sprayer information andwarnings, see Operating Instructionsmanual 309225 included with MAGNUMsprayers, 309388 included with 150 RPXRoller and Spray System, and 313248 withMAGNUM <strong>AX</strong> sprayers.First choice whenquality counts.t309325Rev DThis manual contains kitinstallation instructions only.<strong>Outlet</strong>/<strong>Inlet</strong> <strong>Valve</strong> <strong>Repair</strong> <strong>Kit</strong> fort<strong>dx</strong>, <strong>AX</strong> Airless Sprayers and<strong>Graco</strong> 150 RPX Roller and Spray System<strong>Outlet</strong> <strong>Valve</strong> <strong>Repair</strong> <strong>Kit</strong> 245076<strong>Inlet</strong> <strong>Valve</strong> <strong>Repair</strong> <strong>Kit</strong> 245077Pressure Relief Procedurepsi/MPa/barWARNINGTo help prevent injection injuries, followthis procedure when you stop sprayingand before you service or clean thesprayer, remove parts, or repair leaks.1. Turn Power switch OFF. Unplug sprayer.2. Turn Spray/Prime valve to PRIME to relieve pressure.Turn Pressure Control knob left (counterclockwise)to minimize pressure.3. Put trigger safety in SAFETY ON position.NOTE: Leave Spray/Prime valve inthe PRIME position until you areready to spray again.If you suspect that the spray tip or hose is completelyclogged or that pressure has not been fully relievedafter following the steps above, VERY SLOWLY loosenthe tip guard retaining nut or hose end coupling torelieve pressure gradually. Then loosen it completely.Clear the tip or hose obstruction.9565AGRACO INC. P.O. BOX 1441 MINNEAPOLIS, MN 55440 -1441ECOPYRIGHT 2001, GRACO INC.<strong>Graco</strong> <strong>Inc</strong>. is registered to I.S. EN ISO 9001
<strong>Outlet</strong> <strong>Valve</strong> ReplacementFig. 1ti1092ADisassembly1. Flush sprayer thoroughly.2. Relieve Pressure by following the proceduredescribed on page 1, or see the Operating Instructionsmanual 309225, 309388, and 313248.3. Remove paint hose.4. Clean all dried residue from around pump outletvalve.5. Using a wrench, unscrew outlet valve fitting andremove from pump.Assembly1. Thread new pump outlet valve into pump.2. Using a wrench, torque to 320--380 in--lbs (36 to43 NSm).3. Replace paint hose.NOTE: Assemble with notched side of seat away fromball.2 309325
<strong>Inlet</strong> <strong>Valve</strong> ReplacementFig. 2Disassembly1. Flush sprayer thoroughly.2. Relieve Pressure by following the proceduredescribed on page 1, or see the Operating Instructionsmanual 309225, 309388, and 313248.3. Remove finger clip from suction hose.4. Pull down and remove suction hose.5. Clean all dried residue from around pump inletvalve.6. Using a wrench, unscrew inlet valve fitting andremove from pump.Assembly1. Thread new inlet valve fitting into pump.ti1091A2. Using a wrench, torque to 320--380 in--lbs (36 to43 NSm).3. Replace suction hose and hose clip.NOTE: Assemble with notched side of seat awayfrom ball.3 309325
All written and visual data contained in this document reflects the latest product information available at the time of publication.<strong>Graco</strong> reserves the right to make changes at any time without notice.4 309325Sales Offices: Minneapolis, DetroitInternational Offices: Belgium, Korea, Hong Kong, JapanGRACO INC. P.O. BOX 1441 MINNEAPOLIS, MN 55440 -1441www.graco.comPRINTEDINUSA 309325, April 2001, Revised May 2002


