Simulation Interface Toolkit (SIT) Tutorial
Simulation Interface Toolkit (SIT) Tutorial
Simulation Interface Toolkit (SIT) Tutorial

You also want an ePaper? Increase the reach of your titles
YUMPU automatically turns print PDFs into web optimized ePapers that Google loves.
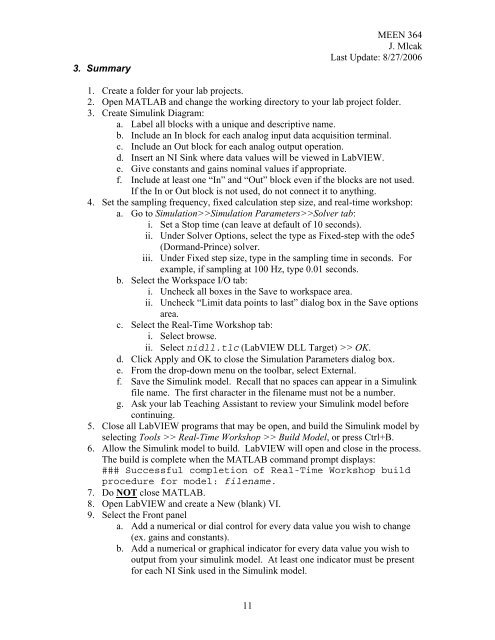
3. SummaryMEEN 364J. MlcakLast Update: 8/27/20061. Create a folder for your lab projects.2. Open MATLAB and change the working directory to your lab project folder.3. Create Simulink Diagram:a. Label all blocks with a unique and descriptive name.b. Include an In block for each analog input data acquisition terminal.c. Include an Out block for each analog output operation.d. Insert an NI Sink where data values will be viewed in LabVIEW.e. Give constants and gains nominal values if appropriate.f. Include at least one “In” and “Out” block even if the blocks are not used.If the In or Out block is not used, do not connect it to anything.4. Set the sampling frequency, fixed calculation step size, and real-time workshop:a. Go to <strong>Simulation</strong>>><strong>Simulation</strong> Parameters>>Solver tab:i. Set a Stop time (can leave at default of 10 seconds).ii. Under Solver Options, select the type as Fixed-step with the ode5(Dormand-Prince) solver.iii. Under Fixed step size, type in the sampling time in seconds. Forexample, if sampling at 100 Hz, type 0.01 seconds.b. Select the Workspace I/O tab:i. Uncheck all boxes in the Save to workspace area.ii. Uncheck “Limit data points to last” dialog box in the Save optionsarea.c. Select the Real-Time Workshop tab:i. Select browse.ii. Select nidll.tlc (LabVIEW DLL Target) >> OK.d. Click Apply and OK to close the <strong>Simulation</strong> Parameters dialog box.e. From the drop-down menu on the toolbar, select External.f. Save the Simulink model. Recall that no spaces can appear in a Simulinkfile name. The first character in the filename must not be a number.g. Ask your lab Teaching Assistant to review your Simulink model beforecontinuing.5. Close all LabVIEW programs that may be open, and build the Simulink model byselecting Tools >> Real-Time Workshop >> Build Model, or press Ctrl+B.6. Allow the Simulink model to build. LabVIEW will open and close in the process.The build is complete when the MATLAB command prompt displays:### Successful completion of Real-Time Workshop buildprocedure for model: filename.7. Do NOT close MATLAB.8. Open LabVIEW and create a New (blank) VI.9. Select the Front panela. Add a numerical or dial control for every data value you wish to change(ex. gains and constants).b. Add a numerical or graphical indicator for every data value you wish tooutput from your simulink model. At least one indicator must be presentfor each NI Sink used in the Simulink model.11