
You also want an ePaper? Increase the reach of your titles
YUMPU automatically turns print PDFs into web optimized ePapers that Google loves.
saw, opening up a hole just big enough to push the side lights through.<br />
Side repeater assembly<br />
Mount the side repeater lights T1316 on the bonnet. The repeater lights<br />
should be in line with the top of the front wheel arches and with their centre<br />
approximately 150mm from the rear face of the bonnet. The size of the hole<br />
needed is Ø20mm. A template is provided in chapter 13. The template fits to<br />
the bottom of the bonnet on either side.<br />
REAR END<br />
Rear light unit assembly<br />
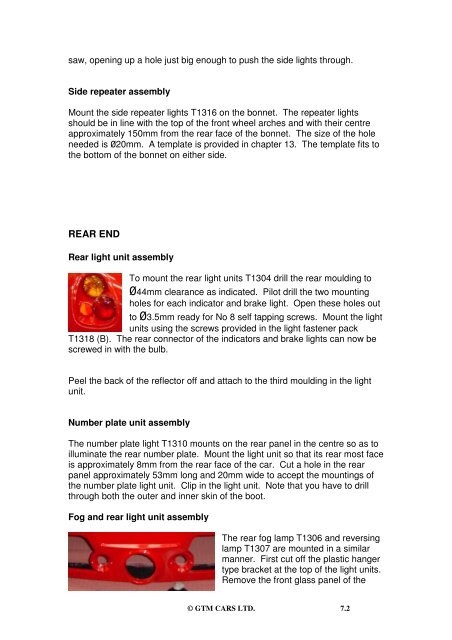
To mount the rear light units T1304 drill the rear moulding to<br />
Ø44mm clearance as indicated. Pilot drill the two mounting<br />
holes for each indicator and brake light. Open these holes out<br />
to Ø3.5mm ready for No 8 self tapping screws. Mount the light<br />
units using the screws provided in the light fastener pack<br />
T1318 (B). The rear connector of the indicators and brake lights can now be<br />
screwed in with the bulb.<br />
Peel the back of the reflector off and attach to the third moulding in the light<br />
unit.<br />
Number plate unit assembly<br />
The number plate light T1310 mounts on the rear panel in the centre so as to<br />
illuminate the rear number plate. Mount the light unit so that its rear most face<br />
is approximately 8mm from the rear face of the car. Cut a hole in the rear<br />
panel approximately 53mm long and 20mm wide to accept the mountings of<br />
the number plate light unit. Clip in the light unit. Note that you have to drill<br />
through both the outer and inner skin of the boot.<br />
Fog and rear light unit assembly<br />
The rear fog lamp T1306 and reversing<br />
lamp T1307 are mounted in a similar<br />
manner. First cut off the plastic hanger<br />
type bracket at the top of the light units.<br />
Remove the front glass panel of the<br />
© <strong>GTM</strong> CARS LTD. 7.2