Create successful ePaper yourself
Turn your PDF publications into a flip-book with our unique Google optimized e-Paper software.
similar thread locking substance when finally locking up these bolts.<br />
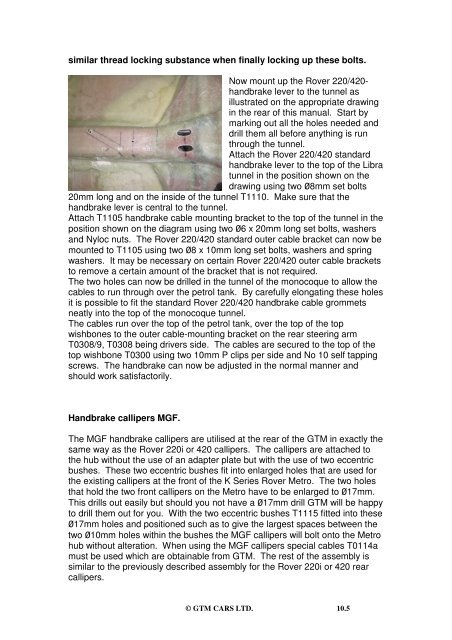
Now mount up the Rover 220/420handbrake<br />
lever to the tunnel as<br />
illustrated on the appropriate drawing<br />
in the rear of this <strong>manual</strong>. Start by<br />
marking out all the holes needed and<br />
drill them all before anything is run<br />
through the tunnel.<br />
Attach the Rover 220/420 standard<br />
handbrake lever to the top of the <strong>Libra</strong><br />
tunnel in the position shown on the<br />
drawing using two Ø8mm set bolts<br />
20mm long and on the inside of the tunnel T1110. Make sure that the<br />
handbrake lever is central to the tunnel.<br />
Attach T1105 handbrake cable mounting bracket to the top of the tunnel in the<br />
position shown on the diagram using two Ø6 x 20mm long set bolts, washers<br />
and Nyloc nuts. The Rover 220/420 standard outer cable bracket can now be<br />
mounted to T1105 using two Ø8 x 10mm long set bolts, washers and spring<br />
washers. It may be necessary on certain Rover 220/420 outer cable brackets<br />
to remove a certain amount of the bracket that is not required.<br />
The two holes can now be drilled in the tunnel of the monocoque to allow the<br />
cables to run through over the petrol tank. By carefully elongating these holes<br />
it is possible to fit the standard Rover 220/420 handbrake cable grommets<br />
neatly into the top of the monocoque tunnel.<br />
The cables run over the top of the petrol tank, over the top of the top<br />
wishbones to the outer cable-mounting bracket on the rear steering arm<br />
T0308/9, T0308 being drivers side. The cables are secured to the top of the<br />
top wishbone T0300 using two 10mm P clips per side and No 10 self tapping<br />
screws. The handbrake can now be adjusted in the normal manner and<br />
should work satisfactorily.<br />
Handbrake callipers MGF.<br />
The MGF handbrake callipers are utilised at the rear of the <strong>GTM</strong> in exactly the<br />
same way as the Rover 220i or 420 callipers. The callipers are attached to<br />
the hub without the use of an adapter plate but with the use of two eccentric<br />
bushes. These two eccentric bushes fit into enlarged holes that are used for<br />
the existing callipers at the front of the K Series Rover Metro. The two holes<br />
that hold the two front callipers on the Metro have to be enlarged to Ø17mm.<br />
This drills out easily but should you not have a Ø17mm drill <strong>GTM</strong> will be happy<br />
to drill them out for you. With the two eccentric bushes T1115 fitted into these<br />
Ø17mm holes and positioned such as to give the largest spaces between the<br />
two Ø10mm holes within the bushes the MGF callipers will bolt onto the Metro<br />
hub without alteration. When using the MGF callipers special cables T0114a<br />
must be used which are obtainable from <strong>GTM</strong>. The rest of the assembly is<br />
similar to the previously described assembly for the Rover 220i or 420 rear<br />
callipers.<br />
© <strong>GTM</strong> CARS LTD. 10.5


