

Web.Designer.Advanced.Angular-P2P

Create successful ePaper yourself
Turn your PDF publications into a flip-book with our unique Google optimized e-Paper software.
GET<br />
THE<br />
CODE<br />
http://www.filesilo.co.uk/bks-0009<br />
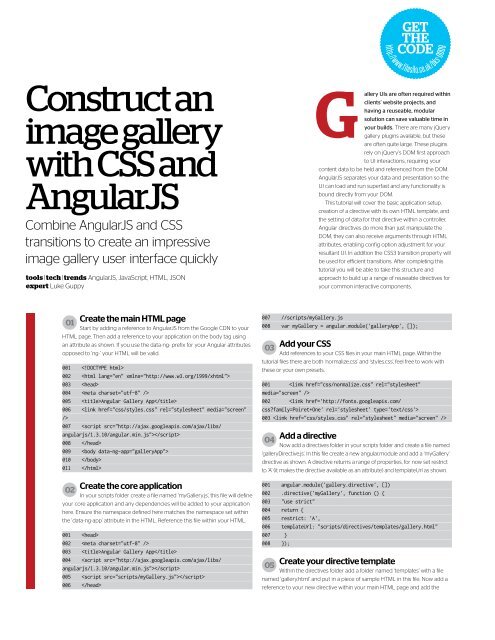
Construct an<br />
image gallery<br />
with CSS and<br />
<strong>Angular</strong>JS<br />
Combine <strong>Angular</strong>JS and CSS<br />
transitions to create an impressive<br />
image gallery user interface quickly<br />
tools | tech | trends <strong>Angular</strong>JS, JavaScript, HTML, JSON<br />
expert Luke Guppy<br />
G<br />
allery UIs are often required within<br />
clients’ website projects, and<br />
having a reuseable, modular<br />
solution can save valuable time in<br />
your builds. There are many jQuery<br />
gallery plugins available, but these<br />
are often quite large. These plugins<br />
rely on jQuery’s DOM first approach<br />
to UI interactions, requiring your<br />
content data to be held and referenced from the DOM.<br />
<strong>Angular</strong>JS separates your data and presentation so the<br />
UI can load and run superfast and any functionality is<br />
bound directly from your DOM.<br />
This tutorial will cover the basic application setup,<br />
creation of a directive with its own HTML template, and<br />
the setting of data for that directive within a controller.<br />
<strong>Angular</strong> directives do more than just manipulate the<br />
DOM, they can also receive arguments through HTML<br />
attributes, enabling config option adjustment for your<br />
resultant UI. In addition the CSS3 transition property will<br />
be used for efficient transitions. After completing this<br />
tutorial you will be able to take this structure and<br />
approach to build up a range of reuseable directives for<br />
your common interactive components.<br />
01<br />
Create the main HTML page<br />
Start by adding a reference to <strong>Angular</strong>JS from the Google CDN to your<br />
HTML page. Then add a reference to your application on the body tag using<br />
an attribute as shown. If you use the data-ng- prefix for your <strong>Angular</strong> attributes<br />
opposed to ‘ng-’ your HTML will be valid.<br />
001 <br />
002 <br />
003 <br />
004 <br />
005 <strong>Angular</strong> Gallery App<br />
006 <br />
007 <br />
008 <br />
009 <br />
010 <br />
011 <br />
02<br />
Create the core application<br />
In your scripts folder create a file named ‘myGallery.js’, this file will define<br />
your core application and any dependencies will be added to your application<br />
here. Ensure the namespace defined here matches the namespace set within<br />
the ‘data-ng-app’ attribute in the HTML. Reference this file within your HTML.<br />
001 <br />
002 <br />
003 <strong>Angular</strong> Gallery App<br />
004 <br />
005 <br />
006 <br />
007 //scripts/myGallery.js<br />
008 var myGallery = angular.module('galleryApp', []);<br />
03<br />
Add your CSS<br />
Add references to your CSS files in your main HTML page. Within the<br />
tutorial files there are both ‘normalize.css’ and ‘styles.css’, feel free to work with<br />
these or your own presets.<br />
001 <br />
002 <br />
003 <br />
04<br />
Add a directive<br />
Now add a directives folder in your scripts folder and create a file named<br />
‘galleryDirective.js’. In this file create a new angular.module and add a ‘myGallery’<br />
directive as shown. A directive returns a range of properties, for now set restrict<br />
to ‘A’ (it makes the directive available as an attribute) and templateUrl as shown.<br />
001 angular.module('gallery.directive', [])<br />
002 .directive('myGallery', function () {<br />
003 "use strict"<br />
004 return {<br />
005 restrict: 'A',<br />
006 templateUrl: "scripts/directives/templates/gallery.html"<br />
007 }<br />
008 });<br />
05<br />
Create your directive template<br />
Within the directives folder add a folder named ‘templates’ with a file<br />
named ‘gallery.html’ and put in a piece of sample HTML in this file. Now add a<br />
reference to your new directive within your main HTML page and add the