


Create successful ePaper yourself
Turn your PDF publications into a flip-book with our unique Google optimized e-Paper software.
DEPARTMENT › ›<br />
Photoshop Tips<br />
boost your productivity and creativity<br />
COLIN SMITH<br />
› › photoshop user › february <strong>2016</strong><br />
050<br />
I have a grab bag full of tips for you this issue. I decided,<br />
rather than have a theme, I’d do it shotgun style and provide<br />
a variety of tips, so there’s something for everyone. Yup, even<br />
you. I hope you enjoy these and they serve you well.<br />
Colored Layer<br />
There are lots of times when you may need a plain colored<br />
layer in Photoshop, for example, to unify the color in compositing.<br />
When making a colored layer in Photoshop, don’t just<br />
create a new layer and fill it with a color; instead, it’s better to<br />
use a Solid Color adjustment layer, Layer>New Fill Layer>Solid<br />
Color. For starters, it will keep the file size smaller. Also, it’s<br />
easy to change the color: Just double-click its layer thumbnail<br />
in the Layers panel and choose a new color from the Color<br />
Picker. The adjustment layer isn’t only faster, but it’s more<br />
flexible. One other thing is if you increase the size of your<br />
document, the adjustment layer will continue to fill the page.<br />
Copy Multiple Layers Across Documents<br />
Since last year’s update to Photoshop CC, you can now dragand-drop<br />
multiple layers and adjustment layers between<br />
documents in tabbed view. Select the layers you want to<br />
copy in the Layers panel and drag them up to the tab of<br />
the document to which you want to copy them. When the<br />
window opens, release the mouse button, and you’ve completed<br />
the move—no U-Haul required.<br />
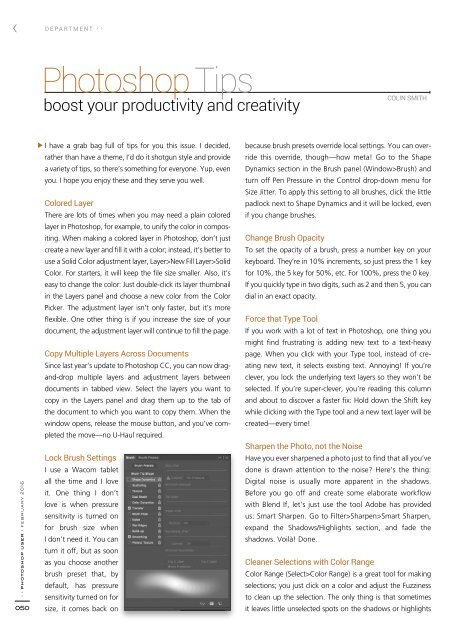
Lock Brush Settings<br />
I use a Wacom tablet<br />
all the time and I love<br />
it. One thing I don’t<br />
love is when pressure<br />
sensitivity is turned on<br />
for brush size when<br />
I don’t need it. You can<br />
turn it off, but as soon<br />
as you choose another<br />
brush preset that, by<br />
default, has pressure<br />
sensitivity turned on for<br />
size, it comes back on<br />
because brush presets override local settings. You can override<br />
this override, though—how meta! Go to the Shape<br />
Dynamics section in the Brush panel (Window>Brush) and<br />
turn off Pen Pressure in the Control drop-down menu for<br />
Size Jitter. To apply this setting to all brushes, click the little<br />
padlock next to Shape Dynamics and it will be locked, even<br />
if you change brushes.<br />
Change Brush Opacity<br />
To set the opacity of a brush, press a number key on your<br />
keyboard. They’re in 10% increments, so just press the 1 key<br />
for 10%, the 5 key for 50%, etc. For 100%, press the 0 key.<br />
If you quickly type in two digits, such as 2 and then 5, you can<br />
dial in an exact opacity.<br />
Force that Type Tool<br />
If you work with a lot of text in Photoshop, one thing you<br />
might find frustrating is adding new text to a text-heavy<br />
page. When you click with your Type tool, instead of creating<br />
new text, it selects existing text. Annoying! If you’re<br />
clever, you lock the underlying text layers so they won’t be<br />
selected. If you’re super-clever, you’re reading this column<br />
and about to discover a faster fix: Hold down the Shift key<br />
while clicking with the Type tool and a new text layer will be<br />
created—every time!<br />
Sharpen the Photo, not the Noise<br />
Have you ever sharpened a photo just to find that all you’ve<br />
done is drawn attention to the noise? Here’s the thing:<br />
Digital noise is usually more apparent in the shadows.<br />
Before you go off and create some elaborate workflow<br />
with Blend If, let’s just use the tool Adobe has provided<br />
us: Smart Sharpen. Go to Filter>Sharpen>Smart Sharpen,<br />
expand the Shadows/Highlights section, and fade the<br />
shadows. Voilà! Done.<br />
Cleaner Selections with Color Range<br />
Color Range (Select>Color Range) is a great tool for making<br />
selections; you just click on a color and adjust the Fuzziness<br />
to clean up the selection. The only thing is that sometimes<br />
it leaves little unselected spots on the shadows or highlights