Time-Lapse Photography Art and Techniques by Mark Higgins
Create successful ePaper yourself
Turn your PDF publications into a flip-book with our unique Google optimized e-Paper software.
when looking at these options to check functionality.<br />
One major advantage of using this function is that the pictures that are taken will be in whatever<br />
file format or resolution you have the camera set to for regular stills photography. This means you can<br />
get full resolution images from the camera even though you are shooting for time-lapse delivery. This<br />
would be particularly useful if there were a still from which you wished to produce a large<br />
photographic print or if you wanted to do a lot of editing to an image.<br />
When using the interval-timer function, make sure that you have set the time <strong>and</strong> date correctly on<br />
your camera. Sometimes if the clock is not set this function cannot be used, as the camera uses its<br />
internal clock to operate the timer. If you are using an external trigger with interval timer functionality<br />
this is normally not quite so important.<br />
YOUR FIRST TIME-LAPSE<br />
Whether you are using the camera’s interval timer or a remote trigger, put your camera on a tripod <strong>and</strong> set the camera up<br />
to capture a view of moving traffic, people passing <strong>by</strong> or clouds in the sky – anything with plenty of movement. Shoot<br />
at an interval of one frame per second for ten minutes. Afterwards, look at the individual frames <strong>and</strong> the movement<br />
between each photo. Find how to build the images into a time-lapse video using the software on your computer. This<br />
could well be one of your first ever time-lapse videos, so show it to family <strong>and</strong> friends or post it online. See what people<br />
think; every time-lapse you create is an important part of the learning process. Any problem that you encounter during<br />
this process will be invaluable to you. We need to find the challenges of the overall process to underst<strong>and</strong> it <strong>and</strong><br />
subsequently overcome these trials.<br />
Interval timer for stills photography<br />
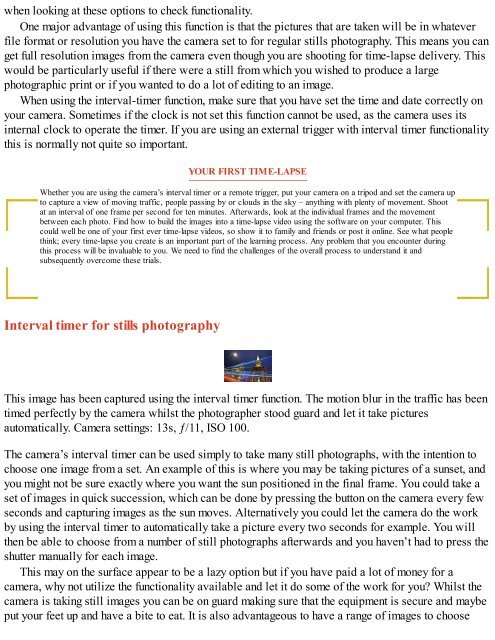
This image has been captured using the interval timer function. The motion blur in the traffic has been<br />
timed perfectly <strong>by</strong> the camera whilst the photographer stood guard <strong>and</strong> let it take pictures<br />
automatically. Camera settings: 13s, ƒ/11, ISO 100.<br />
The camera’s interval timer can be used simply to take many still photographs, with the intention to<br />
choose one image from a set. An example of this is where you may be taking pictures of a sunset, <strong>and</strong><br />
you might not be sure exactly where you want the sun positioned in the final frame. You could take a<br />
set of images in quick succession, which can be done <strong>by</strong> pressing the button on the camera every few<br />
seconds <strong>and</strong> capturing images as the sun moves. Alternatively you could let the camera do the work<br />
<strong>by</strong> using the interval timer to automatically take a picture every two seconds for example. You will<br />
then be able to choose from a number of still photographs afterwards <strong>and</strong> you haven’t had to press the<br />
shutter manually for each image.<br />
This may on the surface appear to be a lazy option but if you have paid a lot of money for a<br />
camera, why not utilize the functionality available <strong>and</strong> let it do some of the work for you? Whilst the<br />
camera is taking still images you can be on guard making sure that the equipment is secure <strong>and</strong> maybe<br />
put your feet up <strong>and</strong> have a bite to eat. It is also advantageous to have a range of images to choose


