Jewellery World Magazine - December 2021
This issue looks at white diamonds and a new Australian watch brand.
This issue looks at white diamonds and a new Australian watch brand.

You also want an ePaper? Increase the reach of your titles
YUMPU automatically turns print PDFs into web optimized ePapers that Google loves.
7<br />
Now mark out for the square holes<br />
at the back of the cross.Set your<br />
dividers to slightly under 1mm and<br />
scribe around the outside of the cross. To<br />
scribe the inner ladder marks, keep the<br />
same setting on your dividers and scribe<br />
double lines across using your dividers<br />
and ruler. You should be able to see the<br />
side cut marks and use them to locate the<br />
correct spacings.<br />
8<br />
Now drill through each setting with<br />
a 1mm pilot drill. Keep turning the<br />
cross over to check that you are<br />
drilling straight. Open the holes out with<br />
a 1.2mm drill and make any necessary<br />
corrections. Countersink the holes with<br />
a ball bur that’s around 2.2mm. You can<br />
also countersink the underside as this will<br />
assist when you start to perform the ajour<br />
cut work.<br />
9<br />
Insert a 4/0 or 5/0 saw blade into a<br />
setting and begin the cutting work<br />
by angling the blade forwards. Keep<br />
the blade moving as you first cut into the<br />
corners forming a star shape. Then scrape<br />
the blade along the scribe line from corner<br />
to corner. Cutting squares can be tricky and<br />
may result in some accidental cuts past the<br />
scribe line. Try to stay well within the scribe<br />
lines for you first attempts. You can perfect<br />
the work once you have some experience.<br />
10<br />
The aim of the game is to look<br />
for improvement with each one.<br />
Do not obsess about obtaining<br />
perfection at first, and don’t be<br />
too concerned if you mess up the first few<br />
holes.<br />
Before you work on the sides, cut cross lines<br />
intothe top of each square setting. Now angle<br />
your blade to 45° and cut down the sides from<br />
the centre cuts. Saw until your blade reaches<br />
the centre of the top and side of the setting.<br />
11number of different burs. The<br />
To create the round openings<br />
in the settings you could use a<br />
obvious one to use is a cone bur.<br />
Drive the point of the bur in but make<br />
sure you do not cut through the top of<br />
the side setting. Switch to a round bur<br />
to finish off. This will make the openings<br />
perfectly round.<br />
12<br />
Once all the cutwork is<br />
completed you can make a<br />
simple bail and solder it to the<br />
top.<br />
The assessment of your saw cutting<br />
skills should be done at this stage before<br />
any stone setting is carried out. A selfassessment<br />
sheet is in the curriculum.<br />
The online course includes video<br />
instructions for setting round stones into<br />
square settings.<br />
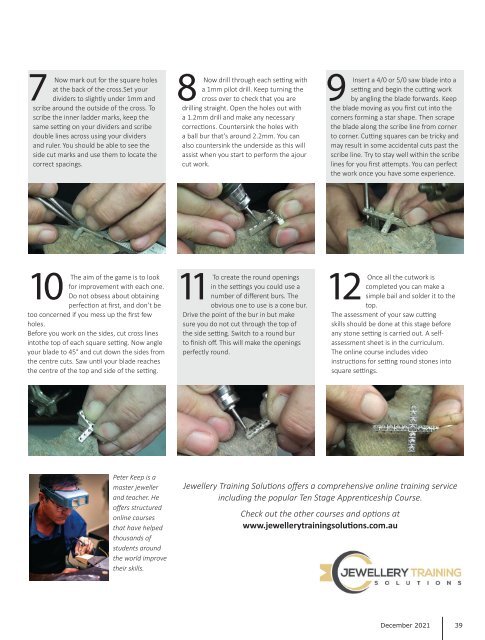
Peter Keep is a<br />
master jeweller<br />
and teacher. He<br />
offers structured<br />
online courses<br />
that have helped<br />
thousands of<br />
students around<br />
the world improve<br />
their skills.<br />
<strong>Jewellery</strong> Training Solutions offers a comprehensive online training service<br />
including the popular Ten Stage Apprenticeship Course.<br />
Check out the other courses and options at<br />
www.jewellerytrainingsolutions.com.au<br />
<strong>December</strong> <strong>2021</strong> 39