ASTi Model Builder Visual Basic Training Manual Document: DOC ...
ASTi Model Builder Visual Basic Training Manual Document: DOC ...
ASTi Model Builder Visual Basic Training Manual Document: DOC ...
Create successful ePaper yourself
Turn your PDF publications into a flip-book with our unique Google optimized e-Paper software.
6.2. Uploading Options File<br />
<strong>ASTi</strong> MBV Telestra <strong>Training</strong> (Ver.1, Rev.B)<br />
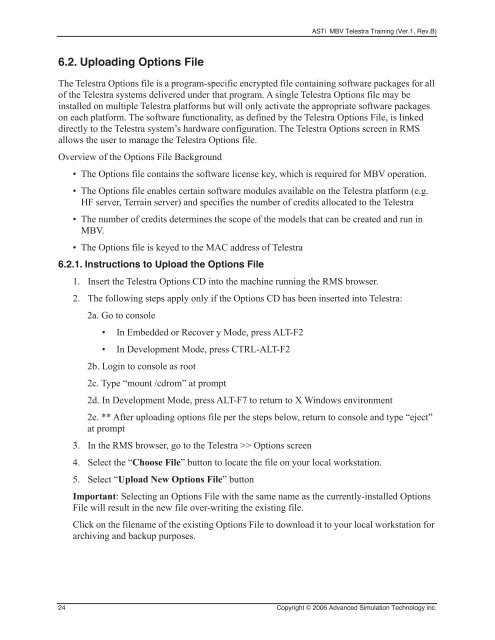
The Telestra Options file is a program-specific encrypted file containing software packages for all<br />
of the Telestra systems delivered under that program. A single Telestra Options file may be<br />
installed on multiple Telestra platforms but will only activate the appropriate software packages<br />
on each platform. The software functionality, as defined by the Telestra Options File, is linked<br />
directly to the Telestra system’s hardware configuration. The Telestra Options screen in RMS<br />
allows the user to manage the Telestra Options file.<br />
Overview of the Options File Background<br />
• The Options file contains the software license key, which is required for MBV operation.<br />
• The Options file enables certain software modules available on the Telestra platform (e.g.<br />
HF server, Terrain server) and specifies the number of credits allocated to the Telestra<br />
• The number of credits determines the scope of the models that can be created and run in<br />
MBV.<br />
• The Options file is keyed to the MAC address of Telestra<br />
6.2.1. Instructions to Upload the Options File<br />
1. Insert the Telestra Options CD into the machine running the RMS browser.<br />
2. The following steps apply only if the Options CD has been inserted into Telestra:<br />
2a. Go to console<br />
• In Embedded or Recover y Mode, press ALT-F2<br />
• In Development Mode, press CTRL-ALT-F2<br />
2b. Login to console as root<br />
2c. Type “mount /cdrom” at prompt<br />
2d. In Development Mode, press ALT-F7 to return to X Windows environment<br />
2e. ** After uploading options file per the steps below, return to console and type “eject”<br />
at prompt<br />
3. In the RMS browser, go to the Telestra >> Options screen<br />
4. Select the “Choose File” button to locate the file on your local workstation.<br />
5. Select “Upload New Options File” button<br />
Important: Selecting an Options File with the same name as the currently-installed Options<br />
File will result in the new file over-writing the existing file.<br />
Click on the filename of the existing Options File to download it to your local workstation for<br />
archiving and backup purposes.<br />
24 Copyright © 2006 Advanced Simulation Technology inc.


