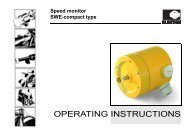
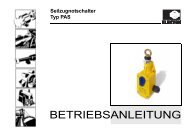
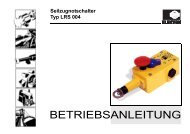
OPERATING INSTRUCTIONS - Kiepe Elektrik
OPERATING INSTRUCTIONS - Kiepe Elektrik
OPERATING INSTRUCTIONS - Kiepe Elektrik

You also want an ePaper? Increase the reach of your titles
YUMPU automatically turns print PDFs into web optimized ePapers that Google loves.
20<br />
5 Mounting and dismounting<br />
Danger of fatal electric shock<br />
Work on the device may be performed only by a qualified<br />
electrical technician.<br />
Prior to working, switch off the power supply to the system.<br />
Ensure that the system cannot be accidentally<br />
switched on. Mask any neighboring components that<br />
may be live to prevent contact.<br />
1. Prior to working, switch off the power supply to the<br />
system. Ensure that the conveyor system cannot be<br />
accidentally switched on. Mask any neighboring<br />
components that may be live to prevent contact.<br />
2. If necessary, open the cover (2) of the roller lever<br />
limit switch by loosening the two screws (5) (see<br />
fig. 5-8).<br />
Note<br />
There are two screws (15) in each of the two<br />
cams (11) (see figure 5-10, page 20). With one<br />
screw (15), the cam (11) is fixed in its basic setting.<br />
The second screw (15) is screwed into the<br />
cam (11).<br />
To adjust the cam (11), the first screw (15) is<br />
loosened just enough that the cam (11) can be<br />
turned. The screw (15) can remain in the de-<br />
vice. After being adjusted, the cam (11) is fixed<br />
with the second screw (15).<br />
Especially with small changes in the setting, this<br />
prevents the cam (11) from being turned back to<br />
its original position when the screw (15) is tightened.<br />
3. Adjust the switch point 1 (advance warning) (see<br />
figures 5-9 and 5-11).<br />
Adjustment range: 5° to 15°<br />
a. Loosen the screw (15) in the cam (11) enough<br />
that you can turn the cam (11).<br />
Cam discs (11)<br />
Screws (15)<br />
Roller lever (3)<br />
Fig. 5-10: Adjusting the switch points – Loosening screws in<br />
the cam disc<br />
HER and REL Operating instructions<br />
CONFIDENTIAL