Plesk Custom Skins - Parallels
Plesk Custom Skins - Parallels
Plesk Custom Skins - Parallels
You also want an ePaper? Increase the reach of your titles
YUMPU automatically turns print PDFs into web optimized ePapers that Google loves.
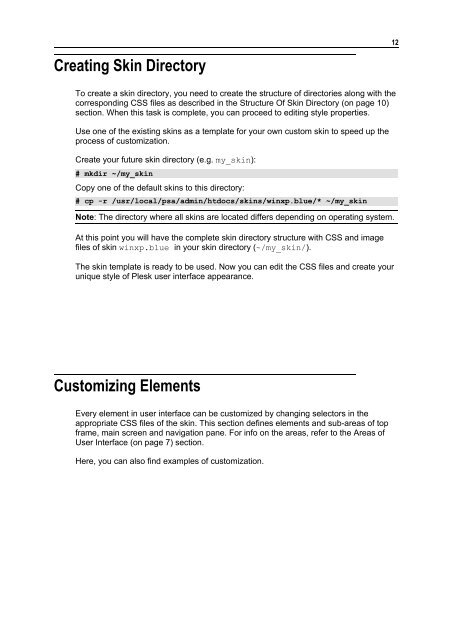
Creating Skin Directory<br />
To create a skin directory, you need to create the structure of directories along with the<br />
corresponding CSS files as described in the Structure Of Skin Directory (on page 10)<br />
section. When this task is complete, you can proceed to editing style properties.<br />
Use one of the existing skins as a template for your own custom skin to speed up the<br />
process of customization.<br />
Create your future skin directory (e.g. my_skin):<br />
# mkdir ~/my_skin<br />
Copy one of the default skins to this directory:<br />
# cp -r /usr/local/psa/admin/htdocs/skins/winxp.blue/* ~/my_skin<br />
Note: The directory where all skins are located differs depending on operating system.<br />
At this point you will have the complete skin directory structure with CSS and image<br />
files of skin winxp.blue in your skin directory (~/my_skin/).<br />
The skin template is ready to be used. Now you can edit the CSS files and create your<br />
unique style of <strong>Plesk</strong> user interface appearance.<br />
<strong>Custom</strong>izing Elements<br />
Every element in user interface can be customized by changing selectors in the<br />
appropriate CSS files of the skin. This section defines elements and sub-areas of top<br />
frame, main screen and navigation pane. For info on the areas, refer to the Areas of<br />
User Interface (on page 7) section.<br />
Here, you can also find examples of customization.<br />
12


