Fortinet and AAA Server - HID Global
Fortinet and AAA Server - HID Global
Fortinet and AAA Server - HID Global

Create successful ePaper yourself
Turn your PDF publications into a flip-book with our unique Google optimized e-Paper software.
ActivIdentity 4TRESS <strong>AAA</strong> Web Tokens <strong>and</strong> SSL VPN <strong>Fortinet</strong> Secure Access | Integration H<strong>and</strong>book<br />
6. From the Destination Address drop-down list, select the firewall address you created that represents the<br />
networks <strong>and</strong> servers to which the SSL VPN clients will connect.<br />
If you want to associate multiple firewall addresses or address groups with the Destination Interface/Zone,<br />
then from Destination Address, click the plus symbol. In the dialog box that is displayed, move the firewall<br />
addresses or address groups from the Available Addresses section to the Members section, then click OK.<br />
7. From the Action drop-down list, select SSL-VPN.<br />
8. Deselect the SSL Client Certificate Restrictive option.<br />
9. From the Cipher Strength drop-down list, select the bit level of SSL encryption. The Web browser on the<br />
remote client must be capable of matching the level that you select.<br />
10. Select the Configure SSLVPN Users option. (A security policy for an SSL VPN is automatically an identitybased<br />
policy.)<br />
11. Click Add to add a user group to the policy. The Edit Authentication Rule window opens on top of the<br />
security policy. Enter the following information <strong>and</strong> then click OK. You can click Add again to add more<br />
groups.<br />
• Select User Groups in the left list (dialog not illustrated) <strong>and</strong> use the right arrow button to move<br />
them to the right list.<br />
• Select Service in the left list (dialog not illustrated) <strong>and</strong> use the right arrow button to move them to<br />
the right list.<br />
• Select the ANY service to allow the user group access to all services.<br />
12. Click OK.<br />
3.5 Procedure 5: Create Tunnel Mode Security Policy<br />
If your SSL VPN will provide tunnel mode operation, then create a security policy to enable traffic to pass between<br />
the SSL VPN virtual interface <strong>and</strong> the protected networks. This is in addition to the SSL VPN security policy that<br />
you created in the preceding section.<br />
To configure the tunnel mode security policy - web-based manager, perform the following steps.<br />
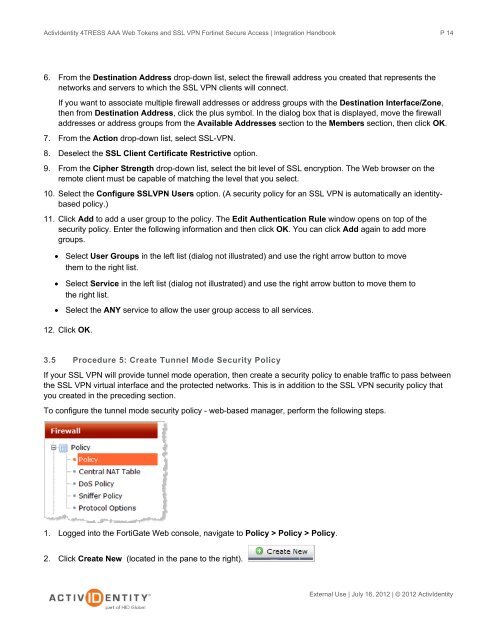
1. Logged into the FortiGate Web console, navigate to Policy > Policy > Policy.<br />
2. Click Create New (located in the pane to the right).<br />
P 14<br />
External Use | July 16, 2012 | © 2012 ActivIdentity