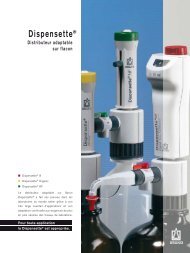
Dispensette® - Brand
Dispensette® - Brand
Dispensette® - Brand

You also want an ePaper? Increase the reach of your titles
YUMPU automatically turns print PDFs into web optimized ePapers that Google loves.
1. Setting the volume<br />
+<br />
–<br />
Digital: Rotate the volumesetting<br />
wheel until the desired<br />
volume is indicated (mechanical<br />
counter).<br />
2. Dispensing<br />
Warning!<br />
Attention:<br />
1 2 3<br />
Analog-adjustable: Loosen the<br />
volume selector thumb screw<br />
one-half turn (1), set the pointer<br />
to the desired volume (2) and<br />
then retighten the volume thumb<br />
screw (3).<br />
Wear protective clothing, eye protection and gloves! Liquid may accumulate<br />
in the screw cap. To avoid splashes dispense slowly. Follow<br />
all safety instructions and observe limitations of use and operating<br />
limitations (page 32-33).<br />
a) Remove screw cap from the discharge tube.<br />
b) When using instruments equipped with the<br />
SafetyPrime recirculation valve, turn the valve to<br />
“Dispensing”.<br />
c) Hold the discharge tube orifice on the inner wall of<br />
a suitable receiving vessel.<br />
d) Gently lift the piston until the upper stop and then<br />
depress piston slowly and steadily with minimal<br />
force until the lower stop (Fig. d).<br />
e) Wipe off the discharge tube against the inner wall<br />
of the receiving vessel.<br />
f) Reattach screw cap to discharge tube (Fig. f).<br />
After use, always leave the piston in the down position.<br />
a<br />
d<br />
f<br />
Dispensing<br />
Fixed-volume: The volume is<br />
non-adjustable and cannot be<br />
changed.<br />
!<br />
English<br />
41