Create successful ePaper yourself
Turn your PDF publications into a flip-book with our unique Google optimized e-Paper software.
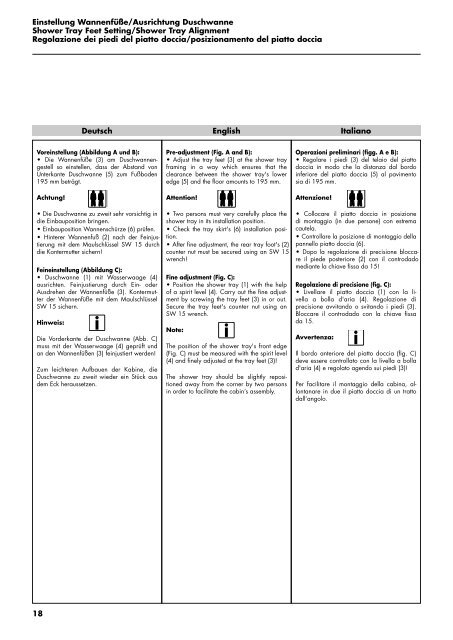
Einstellung Wannenfüße/Ausrichtung Duschwanne<br />
Shower Tray Feet Setting/Shower Tray Alignment<br />
Regolazione dei piedi del piatto doccia/posizionamento del piatto doccia<br />
18<br />
Deutsch<br />
Voreinstellung (Abbildung A und B):<br />
• Die Wannenfüße (3) am Duschwannengestell<br />
so einstellen, dass der Abstand von<br />
Unterkante Duschwanne (5) zum Fußboden<br />
195 mm beträgt.<br />
Achtung!<br />
• Die Duschwanne zu zweit sehr vorsichtig in<br />
die Einbauposition bringen.<br />
• Einbauposition Wannenschürze (6) prüfen.<br />
• Hinterer Wannenfuß (2) nach der Feinjus-<br />
tierung mit dem Maulschlüssel SW 15 durch<br />
die Kontermutter sichern!<br />
Feineinstellung (Abbildung C):<br />
• Duschwanne (1) mit Wasserwaage (4)<br />
ausrichten. Feinjustierung durch Ein- oder<br />
Ausdrehen der Wannenfüße (3). Kontermutter<br />
der Wannenfüße mit dem Maulschlüssel<br />
SW 15 sichern.<br />
Hinweis:<br />
Die Vorderkante der Duschwanne (Abb. C)<br />
muss mit der Wasserwaage (4) geprüft und<br />
an den Wannenfüßen (3) feinjustiert werden!<br />
Zum leichteren Aufbauen der Kabine, die<br />
Duschwanne zu zweit wieder ein Stück aus<br />
dem Eck heraussetzen.<br />
English<br />
Pre-adjustment (Fig. A and B):<br />
• Adjust the tray feet (3) at the shower tray<br />
framing in a way which ensures that the<br />
clearance between the shower tray's lower<br />
edge (5) and the floor amounts to 195 mm.<br />
Attention!<br />
• Two persons must very carefully place the<br />
shower tray in its installation position.<br />
• Check the tray skirt's (6) installation position.<br />
• After fine adjustment, the rear tray foot's (2)<br />
counter nut must be secured using an SW 15<br />
wrench!<br />
Fine adjustment (Fig. C):<br />
• Position the shower tray (1) with the help<br />
of a spirit level (4). Carry out the fine adjustment<br />
by screwing the tray feet (3) in or out.<br />
Secure the tray feet's counter nut using an<br />
SW 15 wrench.<br />
Note:<br />
The position of the shower tray's front edge<br />
(Fig. C) must be measured with the spirit level<br />
(4) and finely adjusted at the tray feet (3)!<br />
The shower tray should be slightly repositioned<br />
away from the corner by two persons<br />
in order to facilitate the cabin’s assembly.<br />
Italiano<br />
Operazioni preliminari (figg. A e B):<br />
• Regolare i piedi (3) del telaio del piatto<br />
doccia in modo che la distanza dal bordo<br />
inferiore del piatto doccia (5) al pavimento<br />
sia di 195 mm.<br />
Attenzione!<br />
• Collocare il piatto doccia in posizione<br />
di montaggio (in due persone) con estrema<br />
cautela.<br />
• Controllare la posizione di montaggio della<br />
pannello piatto doccia (6).<br />
• Dopo la regolazione di precisione bloccare<br />
il piede posteriore (2) con il controdado<br />
mediante la chiave fissa da 15!<br />
Regolazione di precisione (fig. C):<br />
• Livellare il piatto doccia (1) con la livella<br />
a bolla d'aria (4). Regolazione di<br />
precisione avvitando o svitando i piedi (3).<br />
Bloccare il controdado con la chiave fissa<br />
da 15.<br />
Avvertenza:<br />
Il bordo anteriore del piatto doccia (fig. C)<br />
deve essere controllato con la livella a bolla<br />
d'aria (4) e regolato agendo sui piedi (3)!<br />
Per facilitare il montaggio della cabina, allontanare<br />
in due il piatto doccia di un tratto<br />
dall‘angolo.


