You also want an ePaper? Increase the reach of your titles
YUMPU automatically turns print PDFs into web optimized ePapers that Google loves.
Schiebetür einstellen<br />
Adjusting the Slide Door<br />
Regolazione della porta scorrevole<br />
44<br />
Deutsch<br />
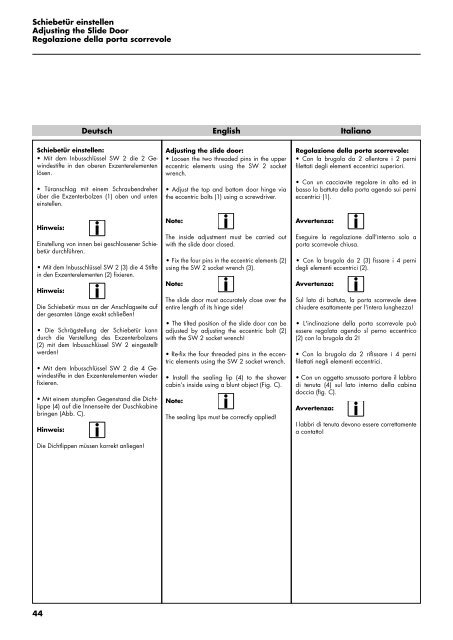
Schiebetür einstellen:<br />
• Mit dem Inbusschlüssel SW 2 die 2 Gewindestifte<br />
in den oberen Exzenterelementen<br />
lösen.<br />
• Türanschlag mit einem Schraubendreher<br />
über die Exzenterbolzen (1) oben und unten<br />
einstellen.<br />
Hinweis:<br />
Einstellung von innen bei geschlossener Schiebetür<br />
durchführen.<br />
• Mit dem Inbusschlüssel SW 2 (3) die 4 Stifte<br />
in den Exzenterelementen (2) fixieren.<br />
Hinweis:<br />
Die Schiebetür muss an der Anschlagseite auf<br />
der gesamten Länge exakt schließen!<br />
• Die Schrägstellung der Schiebetür kann<br />
durch die Verstellung des Exzenterbolzens<br />
(2) mit dem Inbusschlüssel SW 2 eingestellt<br />
werden!<br />
• Mit dem Inbusschlüssel SW 2 die 4 Gewindestifte<br />
in den Exzenterelementen wieder<br />
fixieren.<br />
• Mit einem stumpfen Gegenstand die Dichtlippe<br />
(4) auf die Innenseite der Duschkabine<br />
bringen (Abb. C).<br />
Hinweis:<br />
Die Dichtlippen müssen korrekt anliegen!<br />
English<br />
Adjusting the slide door:<br />
• Loosen the two threaded pins in the upper<br />
eccentric elements using the SW 2 socket<br />
wrench.<br />
• Adjust the top and bottom door hinge via<br />
the eccentric bolts (1) using a screwdriver.<br />
Note:<br />
The inside adjustment must be carried out<br />
with the slide door closed.<br />
• Fix the four pins in the eccentric elements (2)<br />
using the SW 2 socket wrench (3).<br />
Note:<br />
The slide door must accurately close over the<br />
entire length of its hinge side!<br />
• The tilted position of the slide door can be<br />
adjusted by adjusting the eccentric bolt (2)<br />
with the SW 2 socket wrench!<br />
• Re-fix the four threaded pins in the eccentric<br />
elements using the SW 2 socket wrench.<br />
• Install the sealing lip (4) to the shower<br />
cabin’s inside using a blunt object (Fig. C).<br />
Note:<br />
The sealing lips must be correctly applied!<br />
Italiano<br />
Regolazione della porta scorrevole:<br />
• Con la brugola da 2 allentare i 2 perni<br />
filettati degli elementi eccentrici superiori.<br />
• Con un cacciavite regolare in alto ed in<br />
basso la battuta della porta agendo sui perni<br />
eccentrici (1).<br />
Avvertenza:<br />
Eseguire la regolazione dall'interno solo a<br />
porta scorrevole chiusa.<br />
• Con la brugola da 2 (3) fissare i 4 perni<br />
degli elementi eccentrici (2).<br />
Avvertenza:<br />
Sul lato di battuta, la porta scorrevole deve<br />
chiudere esattamente per l'intera lunghezza!<br />
• L'inclinazione della porta scorrevole può<br />
essere regolata agendo sl perno eccentrico<br />
(2) con la brugola da 2!<br />
• Con la brugola da 2 rifissare i 4 perni<br />
filettati negli elementi eccentrici.<br />
• Con un oggetto smussato portare il labbro<br />
di tenuta (4) sul lato interno della cabina<br />
doccia (fig. C).<br />
Avvertenza:<br />
I labbri di tenuta devono essere correttamente<br />
a contatto!


