You also want an ePaper? Increase the reach of your titles
YUMPU automatically turns print PDFs into web optimized ePapers that Google loves.
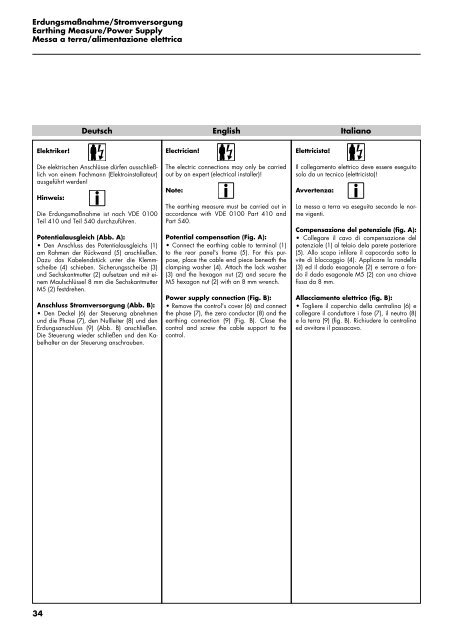
Erdungsmaßnahme/Stromversorgung<br />
Earthing Measure/Power Supply<br />
Messa a terra/alimentazione elettrica<br />
Elektriker!<br />
34<br />
Deutsch<br />
Die elektrischen Anschlüsse dürfen ausschließlich<br />
von einem Fachmann (Elektroinstallateur)<br />
ausgeführt werden!<br />
Hinweis:<br />
Die Erdungsmaßnahme ist nach VDE 0100<br />
Teil 410 und Teil 540 durchzuführen.<br />
Potentialausgleich (Abb. A):<br />
• Den Anschluss des Potentialausgleichs (1)<br />
am Rahmen der Rückwand (5) anschließen.<br />
Dazu das Kabelendstück unter die Klemmscheibe<br />
(4) schieben. Sicherungsscheibe (3)<br />
und Sechskantmutter (2) aufsetzen und mit einem<br />
Maulschlüssel 8 mm die Sechskantmutter<br />
M5 (2) festdrehen.<br />
Anschluss Stromversorgung (Abb. B):<br />
• Den Deckel (6) der Steuerung abnehmen<br />
und die Phase (7), den Nullleiter (8) und den<br />
Erdungsanschluss (9) (Abb. B) anschließen.<br />
Die Steuerung wieder schließen und den Kabelhalter<br />
an der Steuerung anschrauben.<br />
Electrician!<br />
English<br />
The electric connections may only be carried<br />
out by an expert (electrical installer)!<br />
Note:<br />
The earthing measure must be carried out in<br />
accordance with VDE 0100 Part 410 and<br />
Part 540.<br />
Potential compensation (Fig. A):<br />
• Connect the earthing cable to terminal (1)<br />
to the rear panel's frame (5). For this purpose,<br />
place the cable end piece beneath the<br />
clamping washer (4). Attach the lock washer<br />
(3) and the hexagon nut (2) and secure the<br />
M5 hexagon nut (2) with an 8 mm wrench.<br />
Power supply connection (Fig. B):<br />
• Remove the control's cover (6) and connect<br />
the phase (7), the zero conductor (8) and the<br />
earthing connection (9) (Fig. B). Close the<br />
control and screw the cable support to the<br />
control.<br />
Elettricista!<br />
Italiano<br />
Il collegamento elettrico deve essere eseguito<br />
solo da un tecnico (elettricista)!<br />
Avvertenza:<br />
La messa a terra va eseguita secondo le norme<br />
vigenti.<br />
Compensazione del potenziale (fig. A):<br />
• Collegare il cavo di compensazione del<br />
potenziale (1) al telaio dela parete posteriore<br />
(5). Allo scopo infilare il capocorda sotto la<br />
vite di bloccaggio (4). Applicare la rondella<br />
(3) ed il dado esagonale (2) e serrare a fondo<br />
il dado esagonale M5 (2) con una chiave<br />
fissa da 8 mm.<br />
Allacciamento elettrico (fig. B):<br />
• Togliere il coperchio della centralina (6) e<br />
collegare il conduttore i fase (7), il neutro (8)<br />
e la terra (9) (fig. B). Richiudere la centralina<br />
ed avvitare il passacavo.


