You also want an ePaper? Increase the reach of your titles
YUMPU automatically turns print PDFs into web optimized ePapers that Google loves.
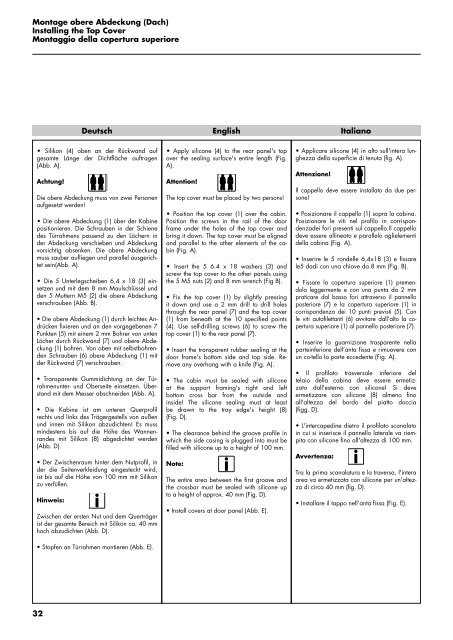
Montage obere Abdeckung (Dach)<br />
Installing the Top Cover<br />
Montaggio della copertura superiore<br />
32<br />
Deutsch<br />
• Silikon (4) oben an der Rückwand auf<br />
gesamte Länge der Dichtfläche auftragen<br />
(Abb. A).<br />
Achtung!<br />
Die obere Abdeckung muss von zwei Personen<br />
aufgesetzt werden!<br />
• Die obere Abdeckung (1) über der Kabine<br />
positionieren. Die Schrauben in der Schiene<br />
des Türrahmens passend zu den Löchern in<br />
der Abdeckung verschieben und Abdeckung<br />
vorsichtig absenken. Die obere Abdeckung<br />
muss sauber aufliegen und parallel ausgerichtet<br />
sein(Abb. A).<br />
• Die 5 Unterlegscheiben 6,4 x 18 (3) einsetzen<br />
und mit dem 8 mm Maulschlüssel und<br />
den 5 Muttern M5 (2) die obere Abdeckung<br />
verschrauben (Abb. B).<br />
• Die obere Abdeckung (1) durch leichtes Andrücken<br />
fixieren und an den vorgegebenen 7<br />
Punkten (5) mit einem 2 mm Bohrer von unten<br />
Löcher durch Rückwand (7) und obere Abdeckung<br />
(1) bohren. Von oben mit selbstbohrenden<br />
Schrauben (6) obere Abdeckung (1) mit<br />
der Rückwand (7) verschrauben.<br />
• Transparente Gummidichtung an der Türrahmenunter-<br />
und Oberseite einsetzen. Überstand<br />
mit dem Messer abschneiden (Abb. A).<br />
• Die Kabine ist am unteren Querprofil<br />
rechts und links des Trägergestells von außen<br />
und innen mit Silikon abzudichten! Es muss<br />
mindestens bis auf die Höhe des Wannenrandes<br />
mit Silikon (8) abgedichtet werden<br />
(Abb. D).<br />
• Der Zwischenraum hinter dem Nutprofil, in<br />
der die Seitenverkleidung eingesteckt wird,<br />
ist bis auf die Höhe von 100 mm mit Silikon<br />
zu verfüllen.<br />
Hinweis:<br />
Zwischen der ersten Nut und dem Querträger<br />
ist der gesamte Bereich mit Silikon ca. 40 mm<br />
hoch abzudichten (Abb. D).<br />
• Stopfen an Türrahmen montieren (Abb. E).<br />
English<br />
• Apply silicone (4) to the rear panel's top<br />
over the sealing surface's entire length (Fig.<br />
A).<br />
Attention!<br />
The top cover must be placed by two persons!<br />
• Position the top cover (1) over the cabin.<br />
Position the screws in the rail of the door<br />
frame under the holes of the top cover and<br />
bring it down. The top cover must be aligned<br />
and parallel to the other elements of the cabin<br />
(Fig. A).<br />
• Insert the 5 6.4 x 18 washers (3) and<br />
screw the top cover to the other panels using<br />
the 5 M5 nuts (2) and 8 mm wrench (Fig B).<br />
• Fix the top cover (1) by slightly pressing<br />
it down and use a 2 mm drill to drill holes<br />
through the rear panel (7) and the top cover<br />
(1) from beneath at the 10 specified points<br />
(4). Use self-drilling screws (6) to screw the<br />
top cover (1) to the rear panel (7).<br />
• Insert the transparent rubber sealing at the<br />
door frame's bottom side and top side. Remove<br />
any overhang with a knife (Fig. A).<br />
• The cabin must be sealed with silicone<br />
at the support framing's right and left<br />
bottom cross bar from the outside and<br />
inside! The silicone sealing must at least<br />
be drawn to the tray edge's height (8)<br />
(Fig. D).<br />
• The clearance behind the groove profile in<br />
which the side casing is plugged into must be<br />
filled with silicone up to a height of 100 mm.<br />
Note:<br />
The entire area between the first groove and<br />
the crossbar must be sealed with silicone up<br />
to a height of approx. 40 mm (Fig. D).<br />
• Install covers at door panel (Abb. E).<br />
Italiano<br />
• Applicare silicone (4) in alto sull'intera lunghezza<br />
della superficie di tenuta (fig. A).<br />
Attenzione!<br />
Il cappello deve essere installato da due persone!<br />
• Posizionare il cappello (1) sopra la cabina.<br />
Posizionare le viti nel profilo in corrispondenzadei<br />
fori presenti sul cappello.Il cappello<br />
deve essere allineato e parallelo aglielementi<br />
della cabina (Fig. A).<br />
• Inserire le 5 rondelle 6,4x18 (3) e fissare<br />
le5 dadi con una chiave da 8 mm (Fig. B).<br />
• Fissare la copertura superiore (1) premendola<br />
leggermente e con una punta da 2 mm<br />
praticare dal basso fori attraverso il pannello<br />
posteriore (7) e la copertura superiore (1) in<br />
corrispondenza dei 10 punti previsti (5). Con<br />
le viti autofilettanti (6) avvitare dall‘alto la copertura<br />
superiore (1) al pannello posteriore (7).<br />
• Inserire la guarnizione trasparente nella<br />
parteinferiore dell‘anta fissa e rimuovere con<br />
un co-tello la parte eccedente (Fig. A).<br />
• Il profilato trasversale inferiore del<br />
telaio della cabina deve essere ermetizzato<br />
dall'esterno con silicone! Si deve<br />
ermetizzare con silicone (8) almeno fino<br />
all'altezza del bordo del piatto doccia<br />
(figg. D).<br />
• L'intercapedine dietro il profilato scanalato<br />
in cui si inserisce il pannello laterale va riempita<br />
con silicone fino all'altezza di 100 mm.<br />
Avvertenza:<br />
Tra la prima scanalatura e la traversa, l'intera<br />
area va ermetizzata con silicone per un'altezza<br />
di circa 40 mm (fig. D).<br />
• Installare il tappo nell‘anta fissa (Fig. E).


