Advarsel! - Service - Black and Decker
Advarsel! - Service - Black and Decker
Advarsel! - Service - Black and Decker
Create successful ePaper yourself
Turn your PDF publications into a flip-book with our unique Google optimized e-Paper software.
♦ Do not charge damaged batteries.<br />
♦ Under extreme conditions, battery leakage may occur.<br />
When you notice liquid on the batteries, carefully wipe the<br />
liquid off using a cloth. Avoid skin contact.<br />
♦ In case of skin or eye contact, follow the instructions<br />
below.<br />
Warning! The battery fluid may cause personal injury or<br />
damage to property. In case of skin contact, immediately<br />
rinse with water. If redness, pain or irritation occurs<br />
seek medical attention. In case of eye contact, rinse<br />
immediately with clean water <strong>and</strong> seek medical attention.<br />
Chargers<br />
Warning! Your charger has been designed for a<br />
specific voltage. Always check that the mains voltage<br />
corresponds to the voltage on the rating plate.<br />
Warning! Never attempt to replace the charger unit with a<br />
regular mains plug.<br />
♦ Use your <strong>Black</strong> & <strong>Decker</strong> charger only to charge the<br />
battery in the appliance/tool with which it was supplied.<br />
Other batteries could burst, causing personal injury <strong>and</strong><br />
damage.<br />
♦ Never attempt to charge non-rechargeable batteries.<br />
♦ If the supply cord is damaged, it must be replaced by the<br />
manufacturer or an authorised <strong>Black</strong> & <strong>Decker</strong> <strong>Service</strong><br />
Centre in order to avoid a hazard.<br />
♦ Do not expose the charger to water.<br />
♦ Do not open the charger.<br />
♦ Do not probe the charger.<br />
♦ The charger must be placed in a well ventilated area<br />
when charging.<br />
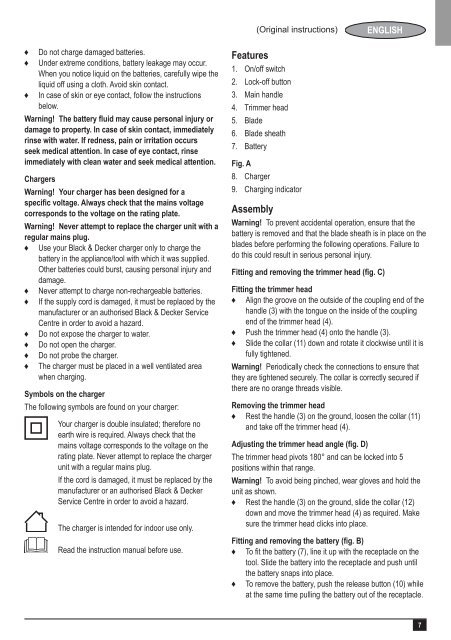
Symbols on the charger<br />
The following symbols are found on your charger:<br />
Your charger is double insulated; therefore no<br />
earth wire is required. Always check that the<br />
mains voltage corresponds to the voltage on the<br />
rating plate. Never attempt to replace the charger<br />
unit with a regular mains plug.<br />
If the cord is damaged, it must be replaced by the<br />
manufacturer or an authorised <strong>Black</strong> & <strong>Decker</strong><br />
<strong>Service</strong> Centre in order to avoid a hazard.<br />
The charger is intended for indoor use only.<br />
Read the instruction manual before use.<br />
(Original instructions)<br />
Features<br />
1. On/off switch<br />
2. Lock-off button<br />
3. Main h<strong>and</strong>le<br />
4. Trimmer head<br />
5. Blade<br />
6. Blade sheath<br />
7. Battery<br />
Fig. A<br />
8. Charger<br />
9. Charging indicator<br />
ENGLISH<br />
Assembly<br />
Warning! To prevent accidental operation, ensure that the<br />
battery is removed <strong>and</strong> that the blade sheath is in place on the<br />
blades before performing the following operations. Failure to<br />
do this could result in serious personal injury.<br />
Fitting <strong>and</strong> removing the trimmer head (fig. C)<br />
Fitting the trimmer head<br />
♦ Align the groove on the outside of the coupling end of the<br />
h<strong>and</strong>le (3) with the tongue on the inside of the coupling<br />
end of the trimmer head (4).<br />
♦ Push the trimmer head (4) onto the h<strong>and</strong>le (3).<br />
♦ Slide the collar (11) down <strong>and</strong> rotate it clockwise until it is<br />
fully tightened.<br />
Warning! Periodically check the connections to ensure that<br />
they are tightened securely. The collar is correctly secured if<br />
there are no orange threads visible.<br />
Removing the trimmer head<br />
♦ Rest the h<strong>and</strong>le (3) on the ground, loosen the collar (11)<br />
<strong>and</strong> take off the trimmer head (4).<br />
Adjusting the trimmer head angle (fig. D)<br />
The trimmer head pivots 180° <strong>and</strong> can be locked into 5<br />
positions within that range.<br />
Warning! To avoid being pinched, wear gloves <strong>and</strong> hold the<br />
unit as shown.<br />
♦ Rest the h<strong>and</strong>le (3) on the ground, slide the collar (12)<br />
down <strong>and</strong> move the trimmer head (4) as required. Make<br />
sure the trimmer head clicks into place.<br />
Fitting <strong>and</strong> removing the battery (fig. B)<br />
♦ To fit the battery (7), line it up with the receptacle on the<br />
tool. Slide the battery into the receptacle <strong>and</strong> push until<br />
the battery snaps into place.<br />
♦ To remove the battery, push the release button (10) while<br />
at the same time pulling the battery out of the receptacle.<br />
7


