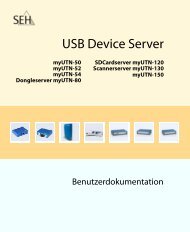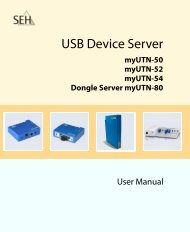
Quick Installation Guide - myUTN-50 - SEH Computertechnik GmbH
Quick Installation Guide - myUTN-50 - SEH Computertechnik GmbH
Quick Installation Guide - myUTN-50 - SEH Computertechnik GmbH

Erfolgreiche ePaper selbst erstellen
Machen Sie aus Ihren PDF Publikationen ein blätterbares Flipbook mit unserer einzigartigen Google optimierten e-Paper Software.
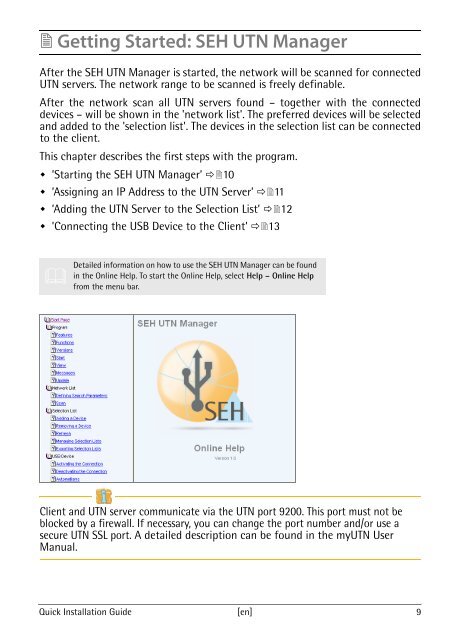
� Getting Started: <strong>SEH</strong> UTN Manager<br />
After the <strong>SEH</strong> UTN Manager is started, the network will be scanned for connected<br />
UTN servers. The network range to be scanned is freely definable.<br />
After the network scan all UTN servers found – together with the connected<br />
devices – will be shown in the 'network list'. The preferred devices will be selected<br />
and added to the 'selection list'. The devices in the selection list can be connected<br />
to the client.<br />
This chapter describes the first steps with the program.<br />
� ’Starting the <strong>SEH</strong> UTN Manager’ ��10<br />
� ’Assigning an IP Address to the UTN Server’ ��11<br />
� ’Adding the UTN Server to the Selection List’ ��12<br />
� ’Connecting the USB Device to the Client’ ��13<br />
�<br />
Detailed information on how to use the <strong>SEH</strong> UTN Manager can be found<br />
in the Online Help. To start the Online Help, select Help – Online Help<br />
from the menu bar.<br />
Client and UTN server communicate via the UTN port 9200. This port must not be<br />
blocked by a firewall. If necessary, you can change the port number and/or use a<br />
secure UTN SSL port. A detailed description can be found in the <strong>myUTN</strong> User<br />
Manual.<br />
<strong>Quick</strong> <strong>Installation</strong> <strong>Guide</strong> [en] 9