MapInfo Professional 11.0 Printing Guide - Product Documentation ...
MapInfo Professional 11.0 Printing Guide - Product Documentation ...
MapInfo Professional 11.0 Printing Guide - Product Documentation ...
You also want an ePaper? Increase the reach of your titles
YUMPU automatically turns print PDFs into web optimized ePapers that Google loves.
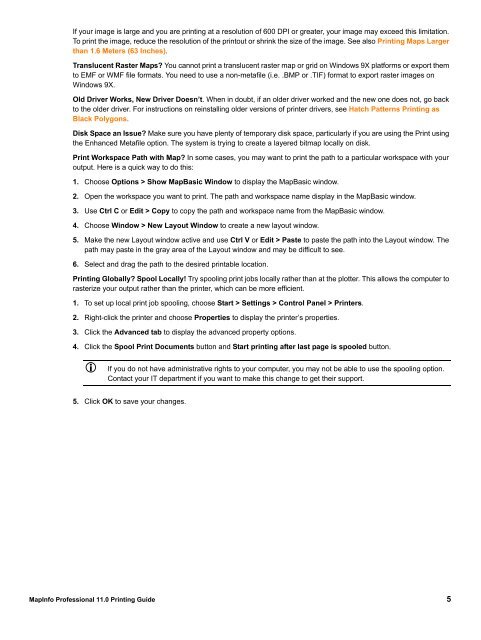
If your image is large and you are printing at a resolution of 600 DPI or greater, your image may exceed this limitation.<br />
To print the image, reduce the resolution of the printout or shrink the size of the image. See also <strong>Printing</strong> Maps Larger<br />
than 1.6 Meters (63 Inches).<br />
Translucent Raster Maps? You cannot print a translucent raster map or grid on Windows 9X platforms or export them<br />
to EMF or WMF file formats. You need to use a non-metafile (i.e. .BMP or .TIF) format to export raster images on<br />
Windows 9X.<br />
Old Driver Works, New Driver Doesn’t. When in doubt, if an older driver worked and the new one does not, go back<br />
to the older driver. For instructions on reinstalling older versions of printer drivers, see Hatch Patterns <strong>Printing</strong> as<br />
Black Polygons.<br />
Disk Space an Issue? Make sure you have plenty of temporary disk space, particularly if you are using the Print using<br />
the Enhanced Metafile option. The system is trying to create a layered bitmap locally on disk.<br />
Print Workspace Path with Map? In some cases, you may want to print the path to a particular workspace with your<br />
output. Here is a quick way to do this:<br />
1. Choose Options > Show MapBasic Window to display the MapBasic window.<br />
2. Open the workspace you want to print. The path and workspace name display in the MapBasic window.<br />
3. Use Ctrl C or Edit > Copy to copy the path and workspace name from the MapBasic window.<br />
4. Choose Window > New Layout Window to create a new layout window.<br />
5. Make the new Layout window active and use Ctrl V or Edit > Paste to paste the path into the Layout window. The<br />
path may paste in the gray area of the Layout window and may be difficult to see.<br />
6. Select and drag the path to the desired printable location.<br />
<strong>Printing</strong> Globally? Spool Locally! Try spooling print jobs locally rather than at the plotter. This allows the computer to<br />
rasterize your output rather than the printer, which can be more efficient.<br />
1. To set up local print job spooling, choose Start > Settings > Control Panel > Printers.<br />
2. Right-click the printer and choose Properties to display the printer’s properties.<br />
3. Click the Advanced tab to display the advanced property options.<br />
4. Click the Spool Print Documents button and Start printing after last page is spooled button.<br />
If you do not have administrative rights to your computer, you may not be able to use the spooling option.<br />
Contact your IT department if you want to make this change to get their support.<br />
5. Click OK to save your changes.<br />
<strong>MapInfo</strong> <strong>Professional</strong> <strong>11.0</strong> <strong>Printing</strong> <strong>Guide</strong> 5


