Operating Instructions Dplmagic Marker Dplgenesis ... - ACI Laser
Operating Instructions Dplmagic Marker Dplgenesis ... - ACI Laser
Operating Instructions Dplmagic Marker Dplgenesis ... - ACI Laser

Create successful ePaper yourself
Turn your PDF publications into a flip-book with our unique Google optimized e-Paper software.
Initial operation<br />
4.2 Starting the <strong>Laser</strong> Marking Device<br />
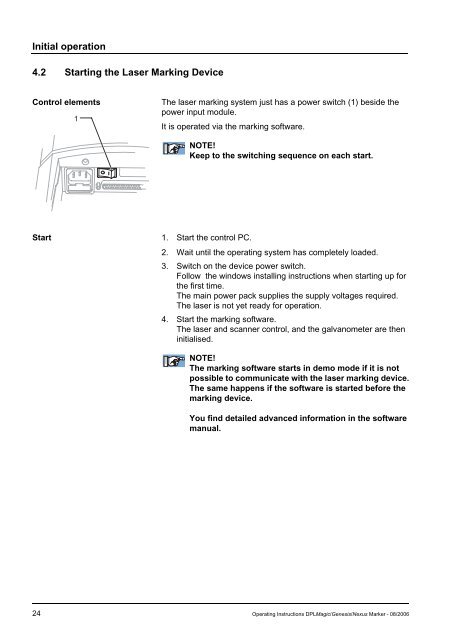
Control elements The laser marking system just has a power switch (1) beside the<br />
power input module.<br />
1<br />
It is operated via the marking software.<br />
Start 1. Start the control PC.<br />
NOTE!<br />
Keep to the switching sequence on each start.<br />
2. Wait until the operating system has completely loaded.<br />
3. Switch on the device power switch.<br />
Follow the windows installing instructions when starting up for<br />
the first time.<br />
The main power pack supplies the supply voltages required.<br />
The laser is not yet ready for operation.<br />
4. Start the marking software.<br />
The laser and scanner control, and the galvanometer are then<br />
initialised.<br />
NOTE!<br />
The marking software starts in demo mode if it is not<br />
possible to communicate with the laser marking device.<br />
The same happens if the software is started before the<br />
marking device.<br />
You find detailed advanced information in the software<br />
manual.<br />
24 <strong>Operating</strong> <strong>Instructions</strong> DPLMagic/Genesis/Nexus <strong>Marker</strong> - 08/2006