Virtual Disk API Programming Guide - Documentation - VMware
Virtual Disk API Programming Guide - Documentation - VMware
Virtual Disk API Programming Guide - Documentation - VMware

You also want an ePaper? Increase the reach of your titles
YUMPU automatically turns print PDFs into web optimized ePapers that Google loves.
<strong>Virtual</strong> <strong>Disk</strong> <strong>Programming</strong> <strong>Guide</strong><br />
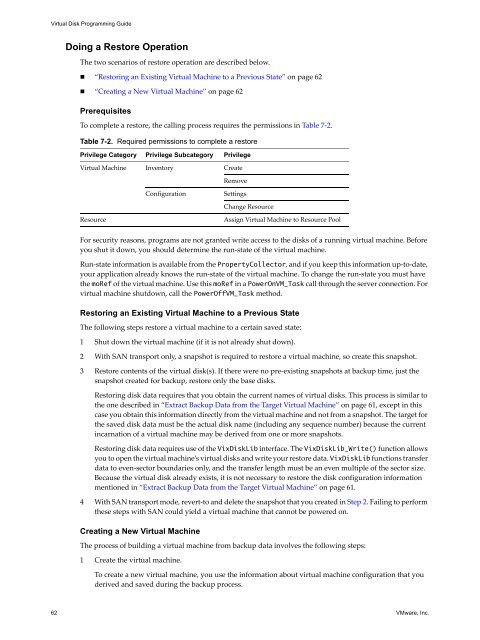
Doing a Restore Operation<br />
The two scenarios of restore operation are described below.<br />
“Restoring an Existing <strong>Virtual</strong> Machine to a Previous State” on page 62<br />
“Creating a New <strong>Virtual</strong> Machine” on page 62<br />
Prerequisites<br />
To complete a restore, the calling process requires the permissions in Table 7‐2.<br />
Table 7-2. Required permissions to complete a restore<br />
Privilege Category Privilege Subcategory Privilege<br />
<strong>Virtual</strong> Machine Inventory Create<br />
For security reasons, programs are not granted write access to the disks of a running virtual machine. Before<br />
you shut it down, you should determine the run‐state of the virtual machine.<br />
Run‐state information is available from the PropertyCollector, and if you keep this information up‐to‐date,<br />
your application already knows the run‐state of the virtual machine. To change the run‐state you must have<br />
the moRef of the virtual machine. Use this moRef in a PowerOnVM_Task call through the server connection. For<br />
virtual machine shutdown, call the PowerOffVM_Task method.<br />
Restoring an Existing <strong>Virtual</strong> Machine to a Previous State<br />
The following steps restore a virtual machine to a certain saved state:<br />
1 Shut down the virtual machine (if it is not already shut down).<br />
2 With SAN transport only, a snapshot is required to restore a virtual machine, so create this snapshot.<br />
3 Restore contents of the virtual disk(s). If there were no pre‐existing snapshots at backup time, just the<br />
snapshot created for backup, restore only the base disks.<br />
Restoring disk data requires that you obtain the current names of virtual disks. This process is similar to<br />
the one described in “Extract Backup Data from the Target <strong>Virtual</strong> Machine” on page 61, except in this<br />
case you obtain this information directly from the virtual machine and not from a snapshot. The target for<br />
the saved disk data must be the actual disk name (including any sequence number) because the current<br />
incarnation of a virtual machine may be derived from one or more snapshots.<br />
Restoring disk data requires use of the Vix<strong>Disk</strong>Lib interface. The Vix<strong>Disk</strong>Lib_Write() function allows<br />
you to open the virtual machine’s virtual disks and write your restore data. Vix<strong>Disk</strong>Lib functions transfer<br />
data to even‐sector boundaries only, and the transfer length must be an even multiple of the sector size.<br />
Because the virtual disk already exists, it is not necessary to restore the disk configuration information<br />
mentioned in “Extract Backup Data from the Target <strong>Virtual</strong> Machine” on page 61.<br />
4 With SAN transport mode, revert‐to and delete the snapshot that you created in Step 2. Failing to perform<br />
these steps with SAN could yield a virtual machine that cannot be powered on.<br />
Creating a New <strong>Virtual</strong> Machine<br />
The process of building a virtual machine from backup data involves the following steps:<br />
1 Create the virtual machine.<br />
Remove<br />
Configuration Settings<br />
Change Resource<br />
Resource Assign <strong>Virtual</strong> Machine to Resource Pool<br />
To create a new virtual machine, you use the information about virtual machine configuration that you<br />
derived and saved during the backup process.<br />
62 <strong>VMware</strong>, Inc.