Installation and Maintenance Instructions - ETO Doors
Installation and Maintenance Instructions - ETO Doors
Installation and Maintenance Instructions - ETO Doors
Create successful ePaper yourself
Turn your PDF publications into a flip-book with our unique Google optimized e-Paper software.
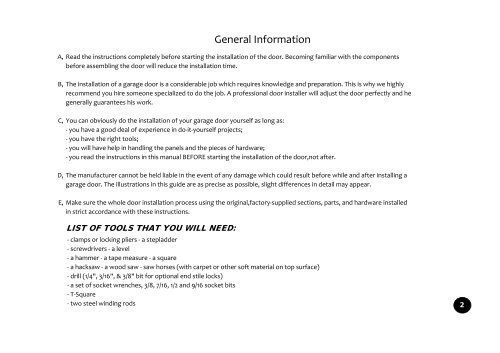
A, Read the instructions completely before starting the installation of the door. Becoming familiar with the components<br />
before assembling the door will reduce the installation time.<br />
B, The installation of a garage door is a considerable job which requires knowledge <strong>and</strong> preparation. This is why we highly<br />
recommend you hire someone specialized to do the job. A professional door installer will adjust the door perfectly <strong>and</strong> he<br />
generally guarantees his work.<br />
C, You can obviously do the installation of your garage door yourself as long as:<br />
‐ you have a good deal of experience in do‐it‐yourself projects;<br />
‐ you have the right tools;<br />
‐ you will have help in h<strong>and</strong>ling the panels <strong>and</strong> the pieces of hardware;<br />
‐ you read the instructions in this manual BEFORE starting the installation of the door,not after.<br />
D, The manufacturer cannot be held liable in the event of any damage which could result before while <strong>and</strong> after installing a<br />
garage door. The illustrations in this guide are as precise as possible, slight differences in detail may appear.<br />
E, Make sure the whole door installation process using the original,factory‐supplied sections, parts, <strong>and</strong> hardware installed<br />
in strict accordance with these instructions.<br />
LIST OF TOOLS THAT YOU WILL NEED:<br />
General Information<br />
‐ clamps or locking pliers ‐ a stepladder<br />
‐ screwdrivers ‐ a level<br />
‐ a hammer ‐ a tape measure ‐ a square<br />
‐ a hacksaw ‐ a wood saw ‐ saw horses (with carpet or other soft material on top surface)<br />
‐ drill (1/4", 3/16", & 3/8" bit for optional end stile locks)<br />
‐ a set of socket wrenches, 3/8, 7/16, 1/2 <strong>and</strong> 9/16 socket bits<br />
‐ T‐Square<br />
‐ two steel winding rods<br />
2


