FortiGate-300A - Fortinet Technical Documentation
FortiGate-300A - Fortinet Technical Documentation
FortiGate-300A - Fortinet Technical Documentation

Create successful ePaper yourself
Turn your PDF publications into a flip-book with our unique Google optimized e-Paper software.
Configuring basic settings NAT/Route mode installation<br />
To add a default route<br />
Add a default route to configure where the <strong>FortiGate</strong> unit sends traffic destined for an<br />
external network (usually the Internet). Adding the default route also defines which<br />
interface is connected to an external network. The default route is not required if the<br />
interface connected to the external network is configured using DHCP or PPPoE.<br />
1 Go to System > Router > Static.<br />
2 If the Static Route table contains a default route (IP and Mask set to 0.0.0.0), select<br />
the Delete icon to delete this route.<br />
3 Select Create New.<br />
4 Set Destination IP to 0.0.0.0.<br />
5 Set Mask to 0.0.0.0.<br />
6 Set Gateway to the default gateway IP address.<br />
7 Set Device to the interface connected to the external network.<br />
8 Select OK.<br />
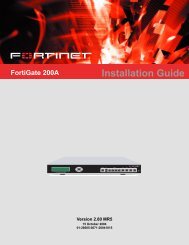
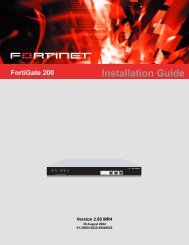
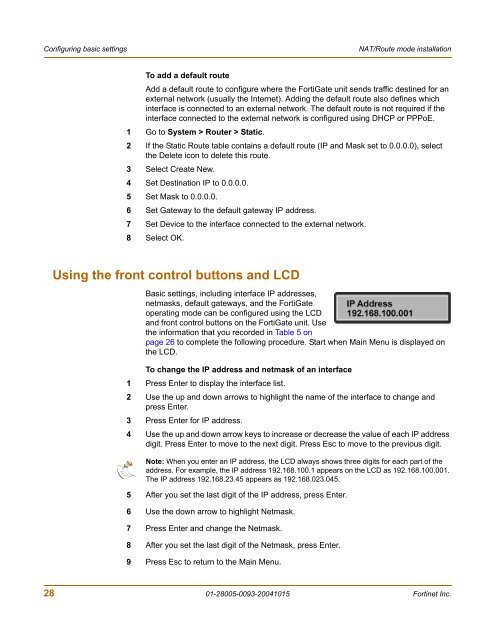
Using the front control buttons and LCD<br />
Basic settings, including interface IP addresses,<br />
netmasks, default gateways, and the <strong>FortiGate</strong><br />
operating mode can be configured using the LCD<br />
and front control buttons on the <strong>FortiGate</strong> unit. Use<br />
the information that you recorded in Table 5 on<br />
page 26 to complete the following procedure. Start when Main Menu is displayed on<br />
the LCD.<br />
To change the IP address and netmask of an interface<br />
1 Press Enter to display the interface list.<br />
2 Use the up and down arrows to highlight the name of the interface to change and<br />
press Enter.<br />
3 Press Enter for IP address.<br />
4 Use the up and down arrow keys to increase or decrease the value of each IP address<br />
digit. Press Enter to move to the next digit. Press Esc to move to the previous digit.<br />
Note: When you enter an IP address, the LCD always shows three digits for each part of the<br />
address. For example, the IP address 192.168.100.1 appears on the LCD as 192.168.100.001.<br />
The IP address 192.168.23.45 appears as 192.168.023.045.<br />
5 After you set the last digit of the IP address, press Enter.<br />
6 Use the down arrow to highlight Netmask.<br />
7 Press Enter and change the Netmask.<br />
8 After you set the last digit of the Netmask, press Enter.<br />
9 Press Esc to return to the Main Menu.<br />
28 01-28005-0093-20041015 <strong>Fortinet</strong> Inc.