FortiGate-300A - Fortinet Technical Documentation
FortiGate-300A - Fortinet Technical Documentation
FortiGate-300A - Fortinet Technical Documentation
You also want an ePaper? Increase the reach of your titles
YUMPU automatically turns print PDFs into web optimized ePapers that Google loves.
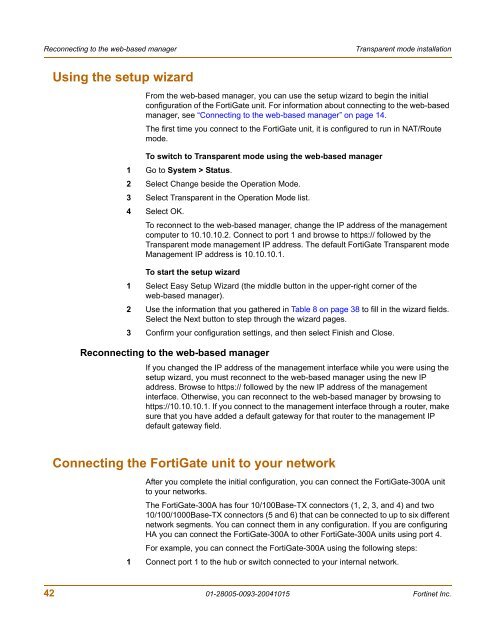
Reconnecting to the web-based manager Transparent mode installation<br />
Using the setup wizard<br />
From the web-based manager, you can use the setup wizard to begin the initial<br />
configuration of the <strong>FortiGate</strong> unit. For information about connecting to the web-based<br />
manager, see “Connecting to the web-based manager” on page 14.<br />
The first time you connect to the <strong>FortiGate</strong> unit, it is configured to run in NAT/Route<br />
mode.<br />
To switch to Transparent mode using the web-based manager<br />
1 Go to System > Status.<br />
2 Select Change beside the Operation Mode.<br />
3 Select Transparent in the Operation Mode list.<br />
4 Select OK.<br />
To reconnect to the web-based manager, change the IP address of the management<br />
computer to 10.10.10.2. Connect to port 1 and browse to https:// followed by the<br />
Transparent mode management IP address. The default <strong>FortiGate</strong> Transparent mode<br />
Management IP address is 10.10.10.1.<br />
To start the setup wizard<br />
1 Select Easy Setup Wizard (the middle button in the upper-right corner of the<br />
web-based manager).<br />
2 Use the information that you gathered in Table 8 on page 38 to fill in the wizard fields.<br />
Select the Next button to step through the wizard pages.<br />
3 Confirm your configuration settings, and then select Finish and Close.<br />
Reconnecting to the web-based manager<br />
If you changed the IP address of the management interface while you were using the<br />
setup wizard, you must reconnect to the web-based manager using the new IP<br />
address. Browse to https:// followed by the new IP address of the management<br />
interface. Otherwise, you can reconnect to the web-based manager by browsing to<br />
https://10.10.10.1. If you connect to the management interface through a router, make<br />
sure that you have added a default gateway for that router to the management IP<br />
default gateway field.<br />
Connecting the <strong>FortiGate</strong> unit to your network<br />
After you complete the initial configuration, you can connect the <strong>FortiGate</strong>-<strong>300A</strong> unit<br />
to your networks.<br />
The <strong>FortiGate</strong>-<strong>300A</strong> has four 10/100Base-TX connectors (1, 2, 3, and 4) and two<br />
10/100/1000Base-TX connectors (5 and 6) that can be connected to up to six different<br />
network segments. You can connect them in any configuration. If you are configuring<br />
HA you can connect the <strong>FortiGate</strong>-<strong>300A</strong> to other <strong>FortiGate</strong>-<strong>300A</strong> units using port 4.<br />
For example, you can connect the <strong>FortiGate</strong>-<strong>300A</strong> using the following steps:<br />
1 Connect port 1 to the hub or switch connected to your internal network.<br />
42 01-28005-0093-20041015 <strong>Fortinet</strong> Inc.


