M50 Owner's Manual - Korg
M50 Owner's Manual - Korg
M50 Owner's Manual - Korg

You also want an ePaper? Increase the reach of your titles
YUMPU automatically turns print PDFs into web optimized ePapers that Google loves.
18<br />
Introduction to the <strong>M50</strong><br />
Other<br />
PROG BANK A, B, C, D, E, GM/<br />
COMBI BANK A, B, C, D switches<br />
Use these switches to change banks when selecting<br />
Programs or Combinations. The LEDs in the switches<br />
light up to show the current bank.<br />
In Program mode, these switches select the Program<br />
bank.<br />
In Combination mode, these switches have two<br />
functions:<br />
• When you’re selecting Combinations, they choose<br />
the Combination bank.<br />
• When you’re assigning a Program to a timbre<br />
within the Combination, they select the Program<br />
bank.<br />
In Sequencer mode, when a track’s Program name is<br />
selected, these switches change the Program bank.<br />
TEMPO knob, TAP TEMPO switch<br />
You can set the tempo by turning the TEMPO knob or<br />
by repeatedly pressing the TAP TEMPO switch.<br />
Control surface<br />
For details on using the control surface to edit values,<br />
please see page 30.<br />
COMPARE switch<br />
You can use this switch to return the settings of an<br />
edited program, combination, or song to their original<br />
state. Refer to the following section.<br />
Compare function<br />
Use this when you wish to compare the edits you have<br />
made to a program or combination’s sound with the<br />
un-edited original (i.e., the sound that is written into<br />
memory).<br />
When editing a program or combination, press this<br />
switch. The LED will light, and the last-written settings<br />
for that program number or combination number will<br />
be recalled. When you press the COMPARE switch<br />
once again, the LED will go dark and you will return to<br />
the settings that you were editing.<br />
If you edit the settings that are recalled by pressing the<br />
COMPARE switch (i.e., the settings that are written<br />
into memory), the LED will go dark, and it will not be<br />
possible to return to the previous edits by pressing the<br />
COMPARE switch again.<br />
In Sequencer mode, you can use the COMPARE switch<br />
to make “before and after” comparisons immediately<br />
after using realtime recording or step recording to<br />
record a song, or after performing a track edit<br />
operation.<br />
For example, this can be used effectively when<br />
realtime-recording a MIDI track for a song.<br />
1. Realtime-record a MIDI track. (Take 1)<br />
2. Once again, realtime-record on the same track.<br />
(Take 2)<br />
3. Press the COMPARE switch. The LED will light,<br />
and take 1 will be recalled.<br />
4. Press the COMPARE switch once again. The LED<br />
will go dark, and take 2 will be recalled.<br />
5. If at step 3 you once again realtime-record on the<br />
same track (take 3), the object of the Compare<br />
function will now be take 1.<br />
6. If at step 4 you once again realtime-record on the<br />
same track (take 3), the object of the Compare<br />
function will be take 2.<br />
In this way, the Compare function lets you recall the<br />
previous recording or the previous state of event<br />
editing.<br />
Note: If you continue editing when the COMPARE<br />
switch is lit, the switch will go dark. This now becomes<br />
the musical data that will be selected when the<br />
COMPARE switch is dark.<br />
For details, please see “The Compare function” on<br />
page 127 of the Parameter Guide.<br />
The Compare function that brings back the<br />
settings prior to editing is not available in Global<br />
mode.<br />
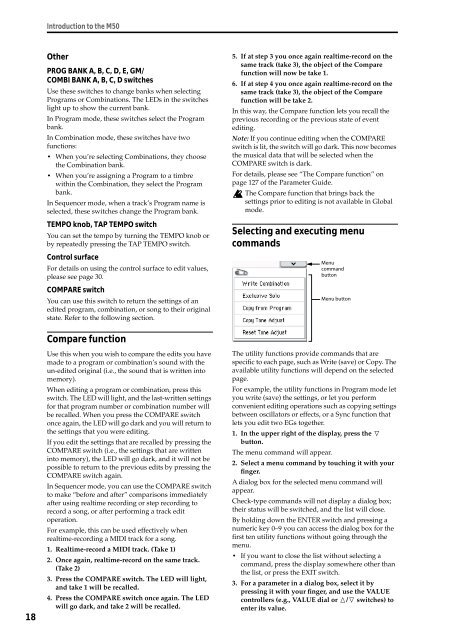
Selecting and executing menu<br />
commands<br />
Menu<br />
command<br />
button<br />
Menu button<br />
The utility functions provide commands that are<br />
specific to each page, such as Write (save) or Copy. The<br />
available utility functions will depend on the selected<br />
page.<br />
For example, the utility functions in Program mode let<br />
you write (save) the settings, or let you perform<br />
convenient editing operations such as copying settings<br />
between oscillators or effects, or a Sync function that<br />
lets you edit two EGs together.<br />
1. In the upper right of the display, press the u<br />
button.<br />
The menu command will appear.<br />
2. Select a menu command by touching it with your<br />
finger.<br />
A dialog box for the selected menu command will<br />
appear.<br />
Check-type commands will not display a dialog box;<br />
their status will be switched, and the list will close.<br />
By holding down the ENTER switch and pressing a<br />
numeric key 0–9 you can access the dialog box for the<br />
first ten utility functions without going through the<br />
menu.<br />
• If you want to close the list without selecting a<br />
command, press the display somewhere other than<br />
the list, or press the EXIT switch.<br />
3. For a parameter in a dialog box, select it by<br />
pressing it with your finger, and use the VALUE<br />
controllers (e.g., VALUE dial or q/u switches) to<br />
enter its value.