Pilatus PC-21 - HT-Modellbau
Pilatus PC-21 - HT-Modellbau
Pilatus PC-21 - HT-Modellbau

You also want an ePaper? Increase the reach of your titles
YUMPU automatically turns print PDFs into web optimized ePapers that Google loves.
Building instruction <strong>PC</strong>-<strong>21</strong> Version 0.5e/ 30.10.2008<br />
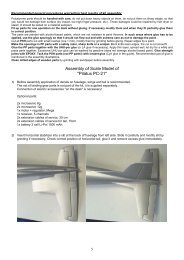
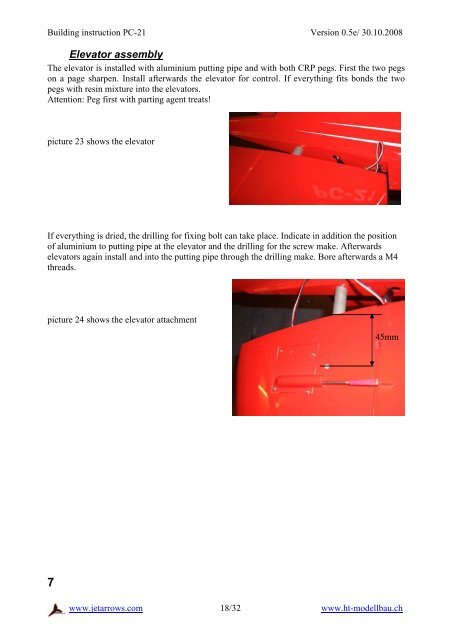
Elevator assembly<br />
The elevator is installed with aluminium putting pipe and with both CRP pegs. First the two pegs<br />
on a page sharpen. Install afterwards the elevator for control. If everything fits bonds the two<br />
pegs with resin mixture into the elevators.<br />
Attention: Peg first with parting agent treats!<br />
picture 23 shows the elevator<br />
If everything is dried, the drilling for fixing bolt can take place. Indicate in addition the position<br />
of aluminium to putting pipe at the elevator and the drilling for the screw make. Afterwards<br />
elevators again install and into the putting pipe through the drilling make. Bore afterwards a M4<br />
threads.<br />
picture 24 shows the elevator attachment<br />
45mm<br />
7<br />
www.jetarrows.com<br />
18/32 www.ht-modellbau.ch